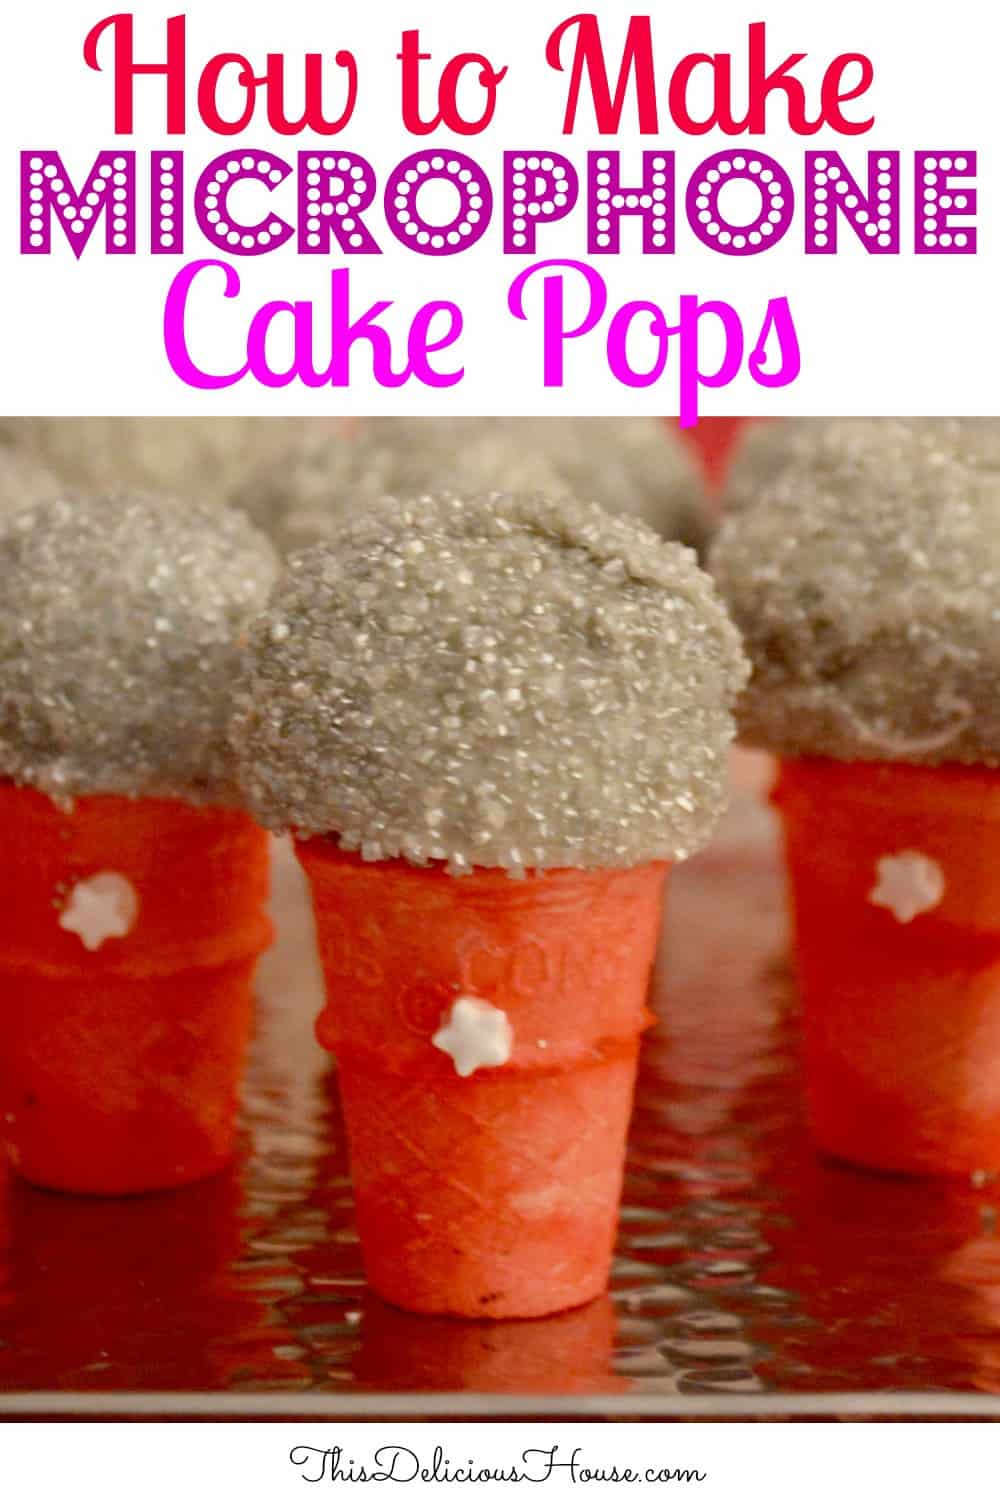
How to make Microphone Cake Pops! Don’t miss the complete tutorial on making microphone cake pops for your next birthday, baby shower, or karaoke party.
Microphone cake pops couldn’t be cuter or easier to make. This complete tutorial will tell you exactly how to make microphone cake pops for an awesome Rockstar Birthday Party! These are super fun treat to include in your next party and you can make them up to 3 days in advance.
Microphone cakes pops were a fun addition to my daughters JoJo Siwa birthday party. The girls were so excited to sing into their little microphones and had a blast eating them.
In addition to the microphone cake pops, I also made my Easy Ice Cream Cake and the girls spent their time decorating DIY Gumball Machines.
Easy to make and fun to eat… be sure to include this fun treat at your next party!
How to Make Microphone Cake Pops
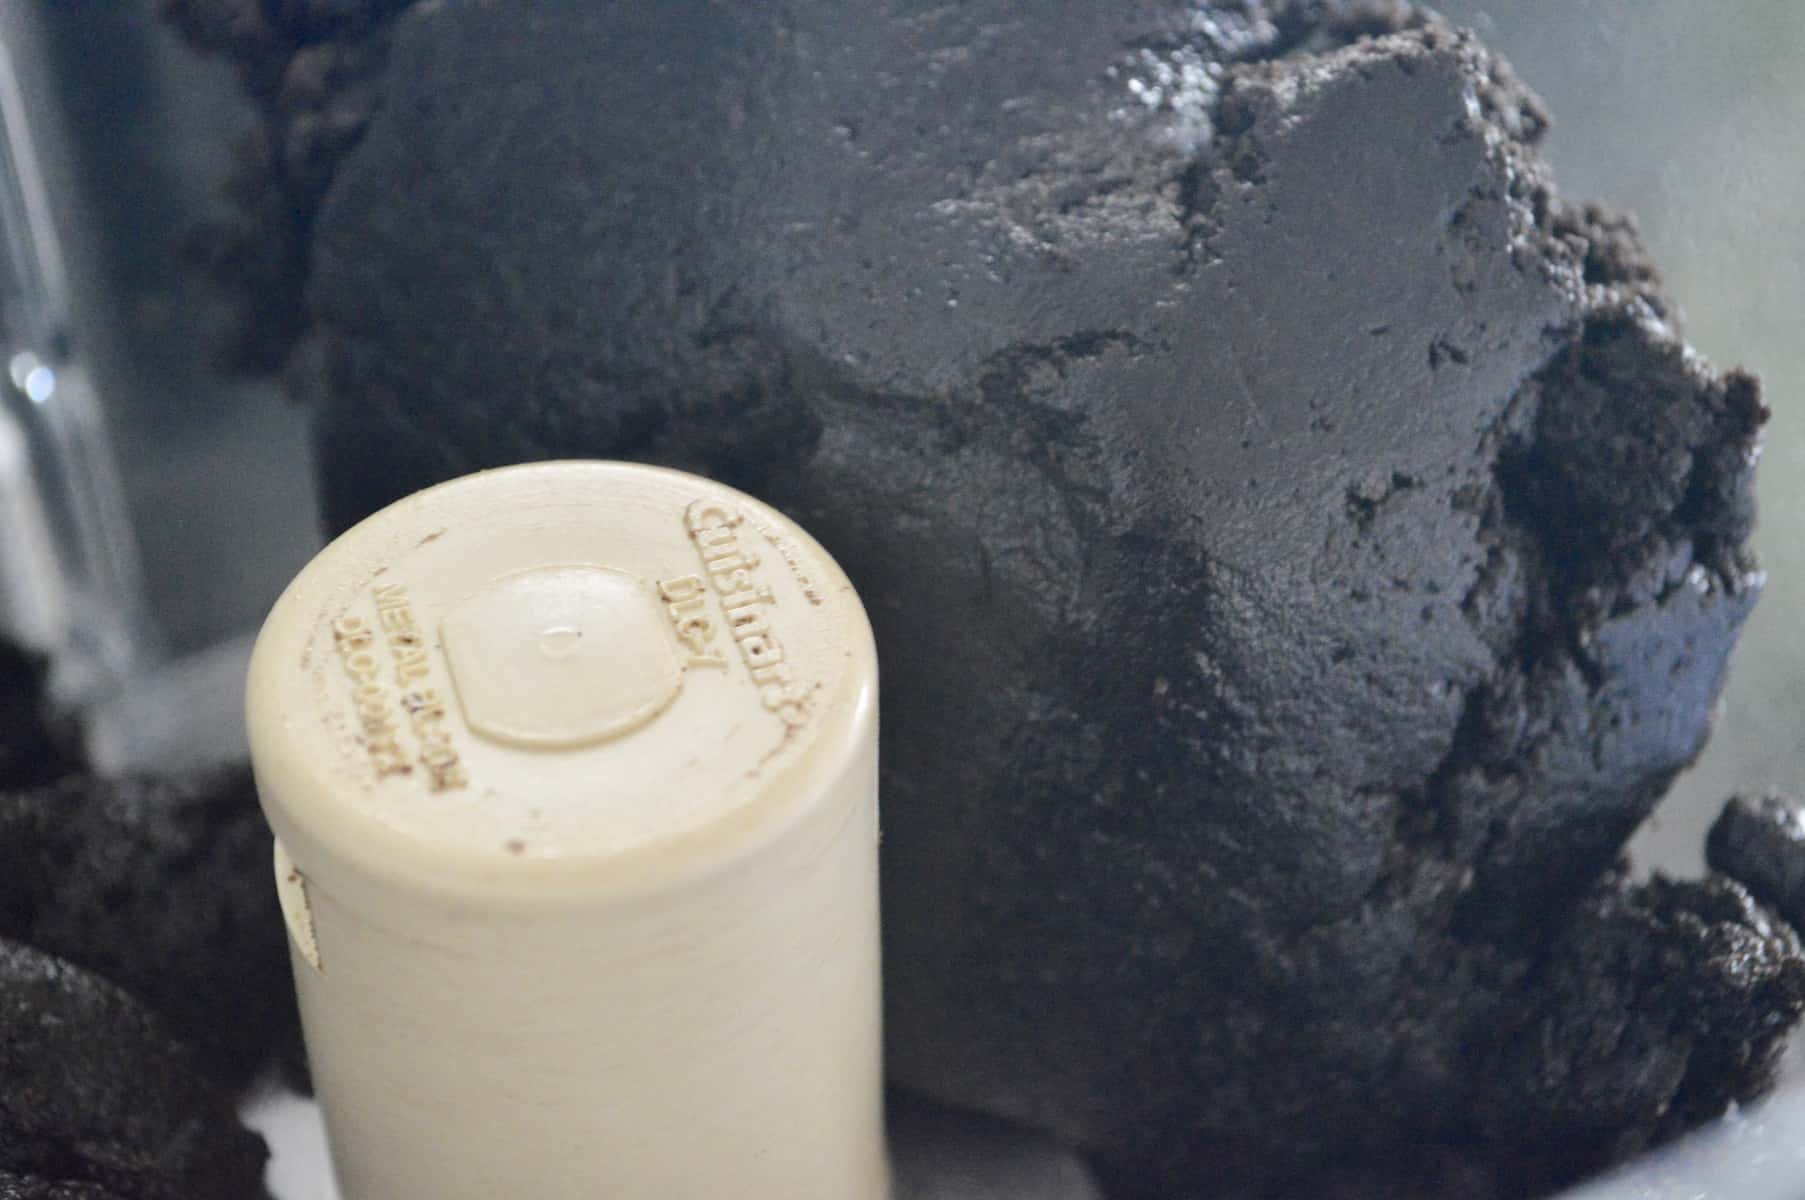
First, make the cake pop dough. Pulse Ores in a food processor until finely crumbled.
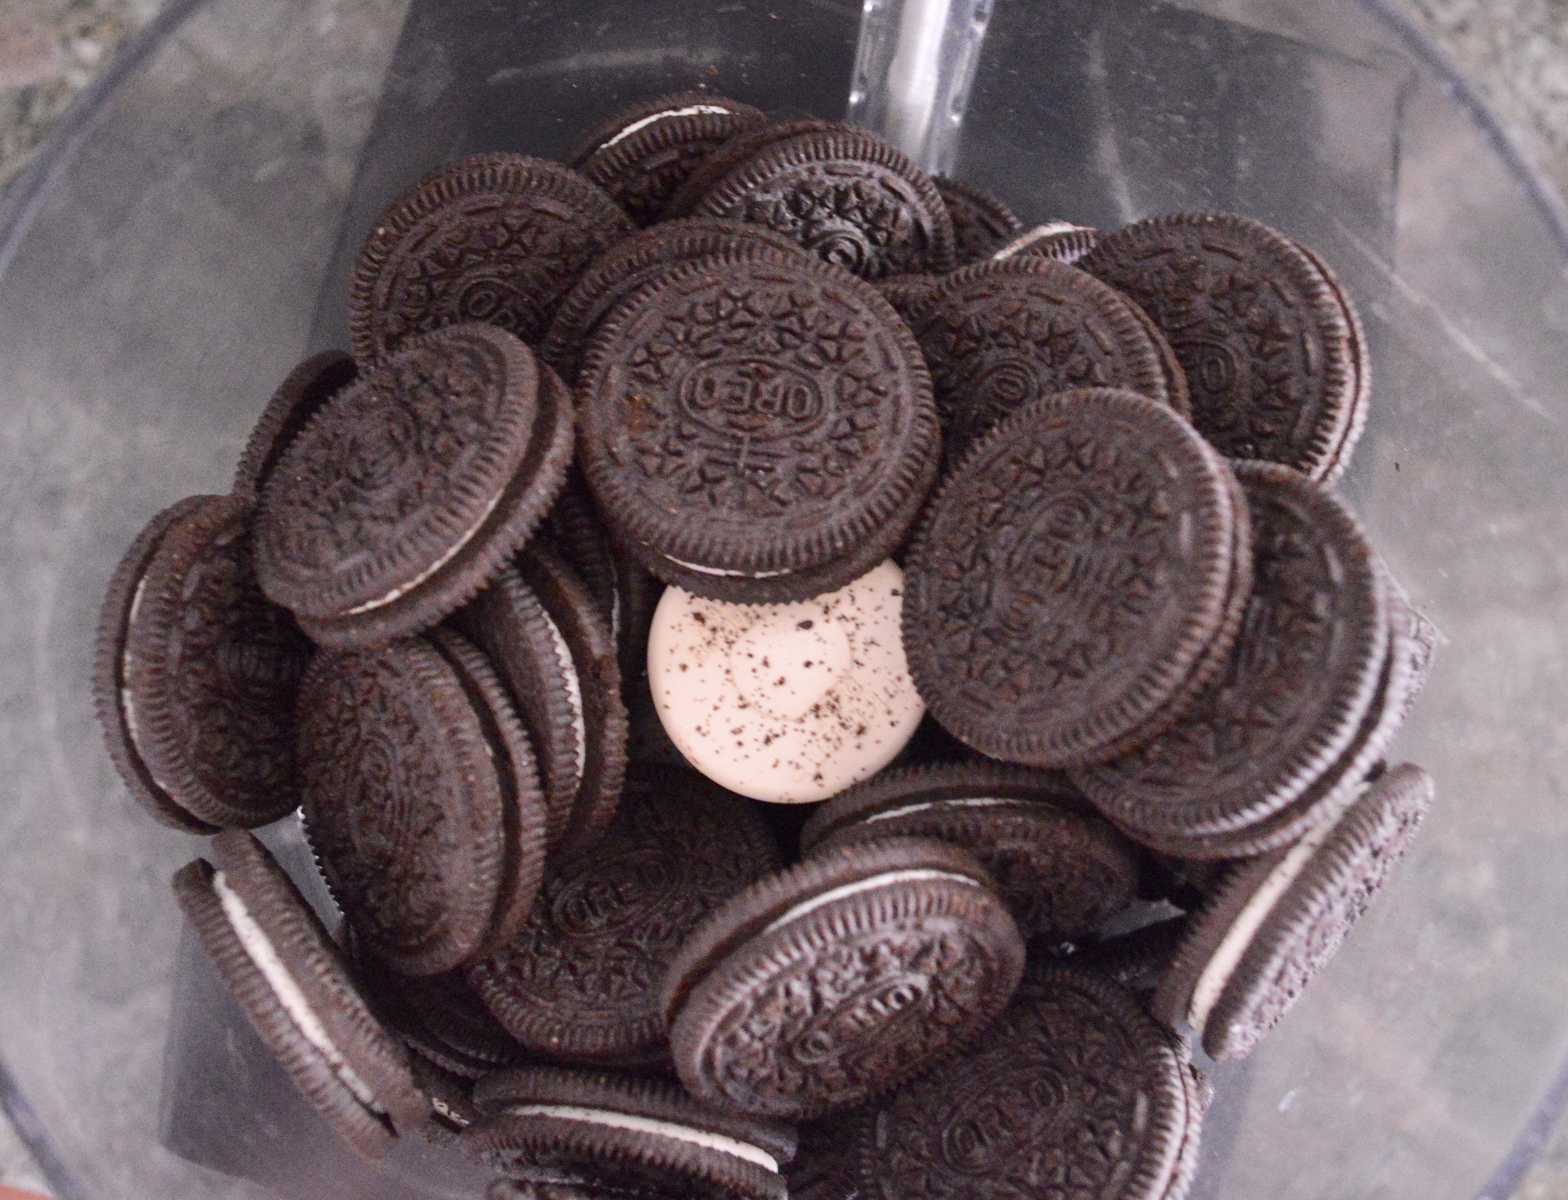
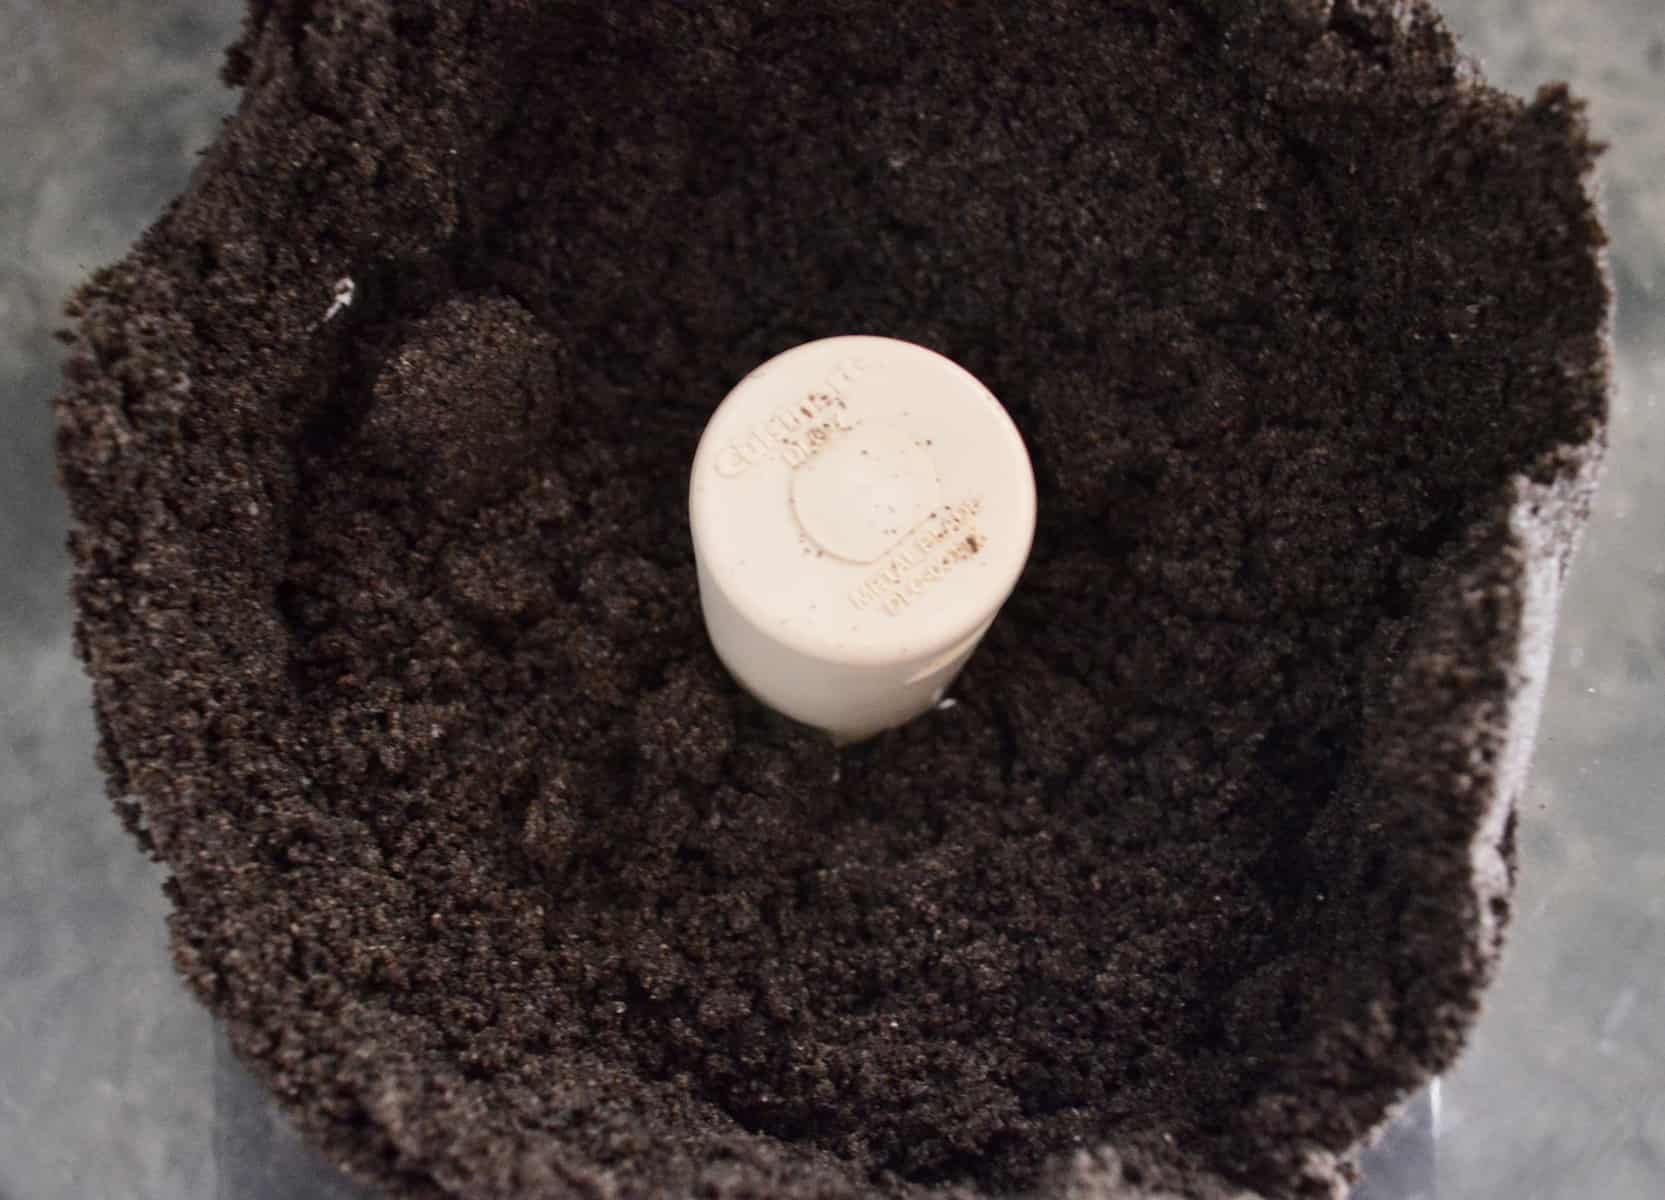
Add in cream cheese and pulse until dough ball forms.
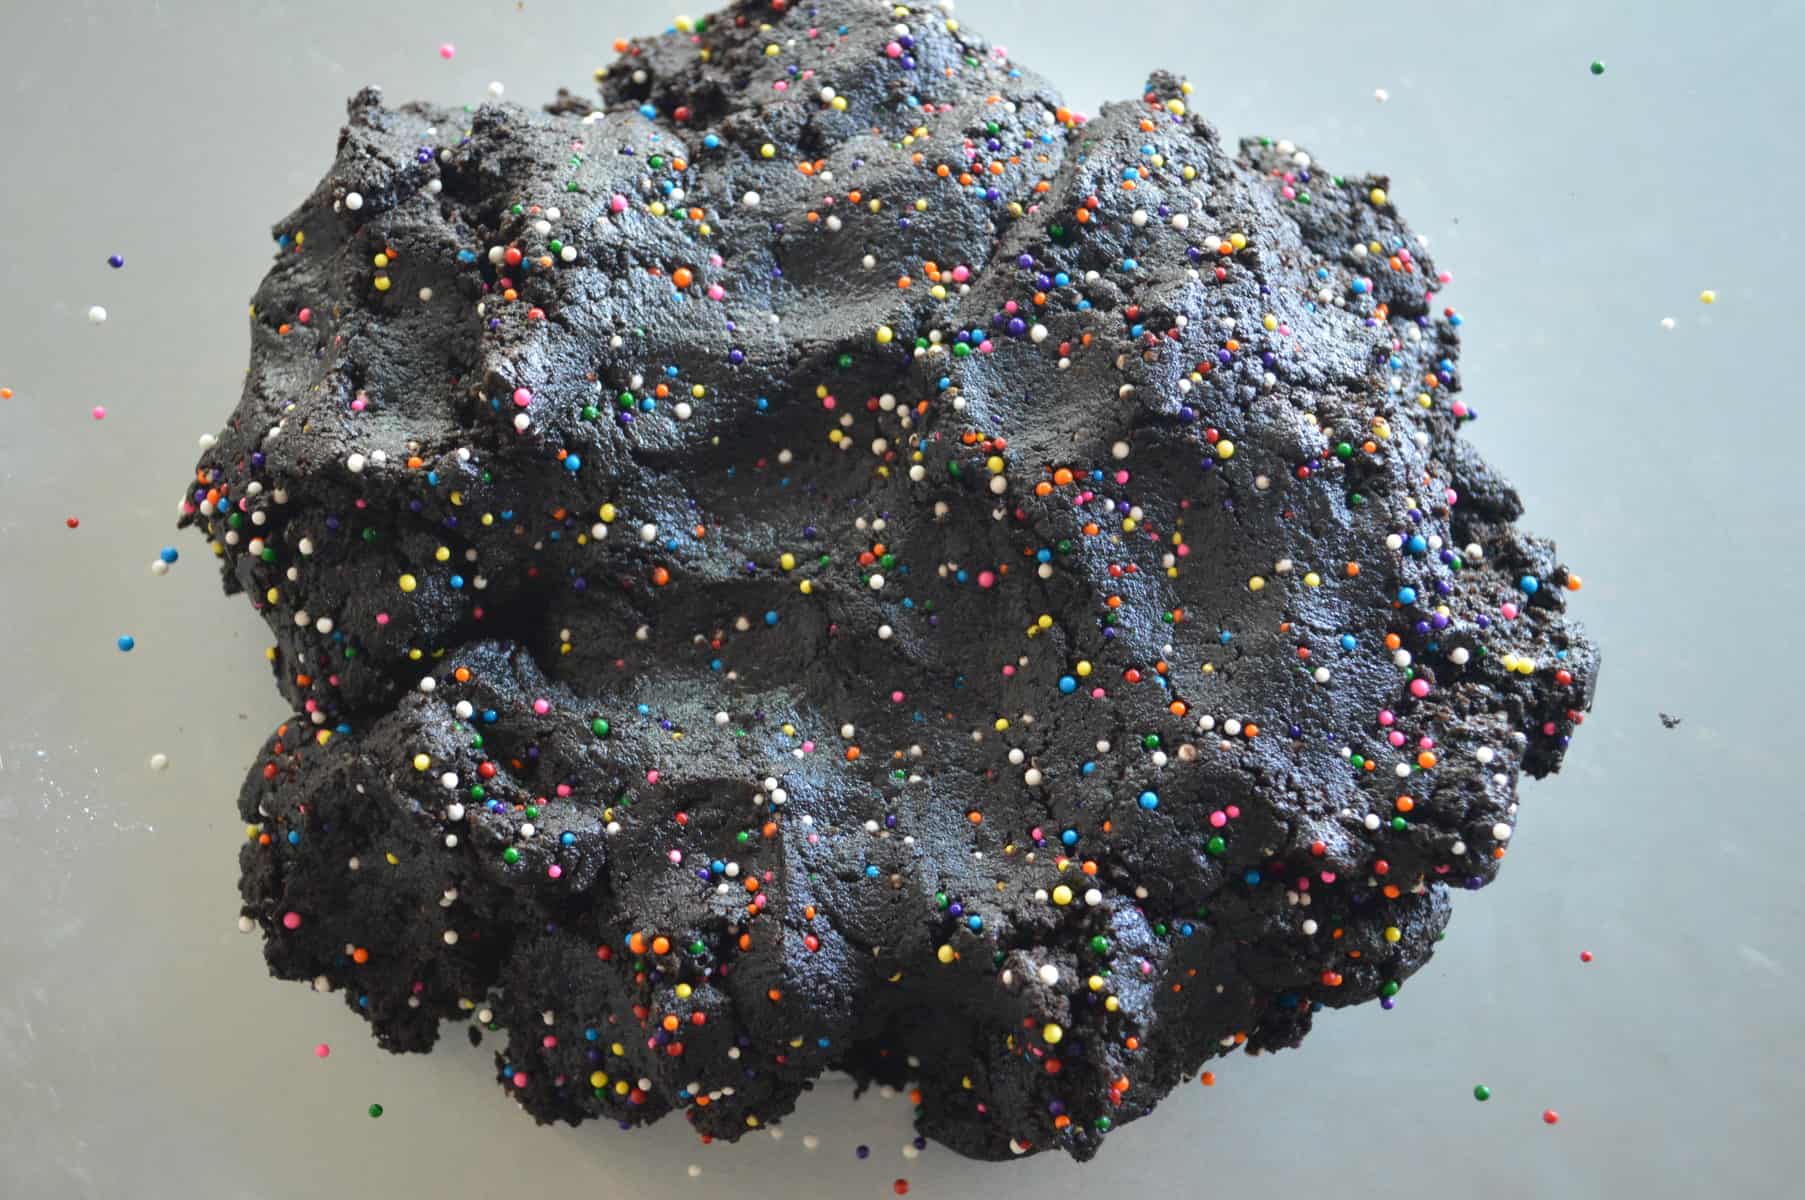
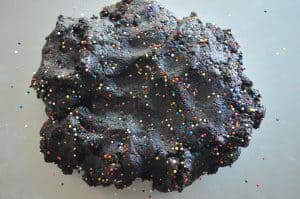
Remove dough to a bowl and fold in sprinkles. Refrigerate.
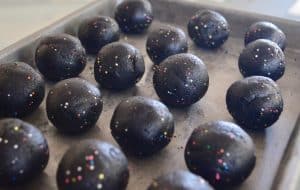
When cool, roll the dough into 18 evenly-sized balls and refrigerate.

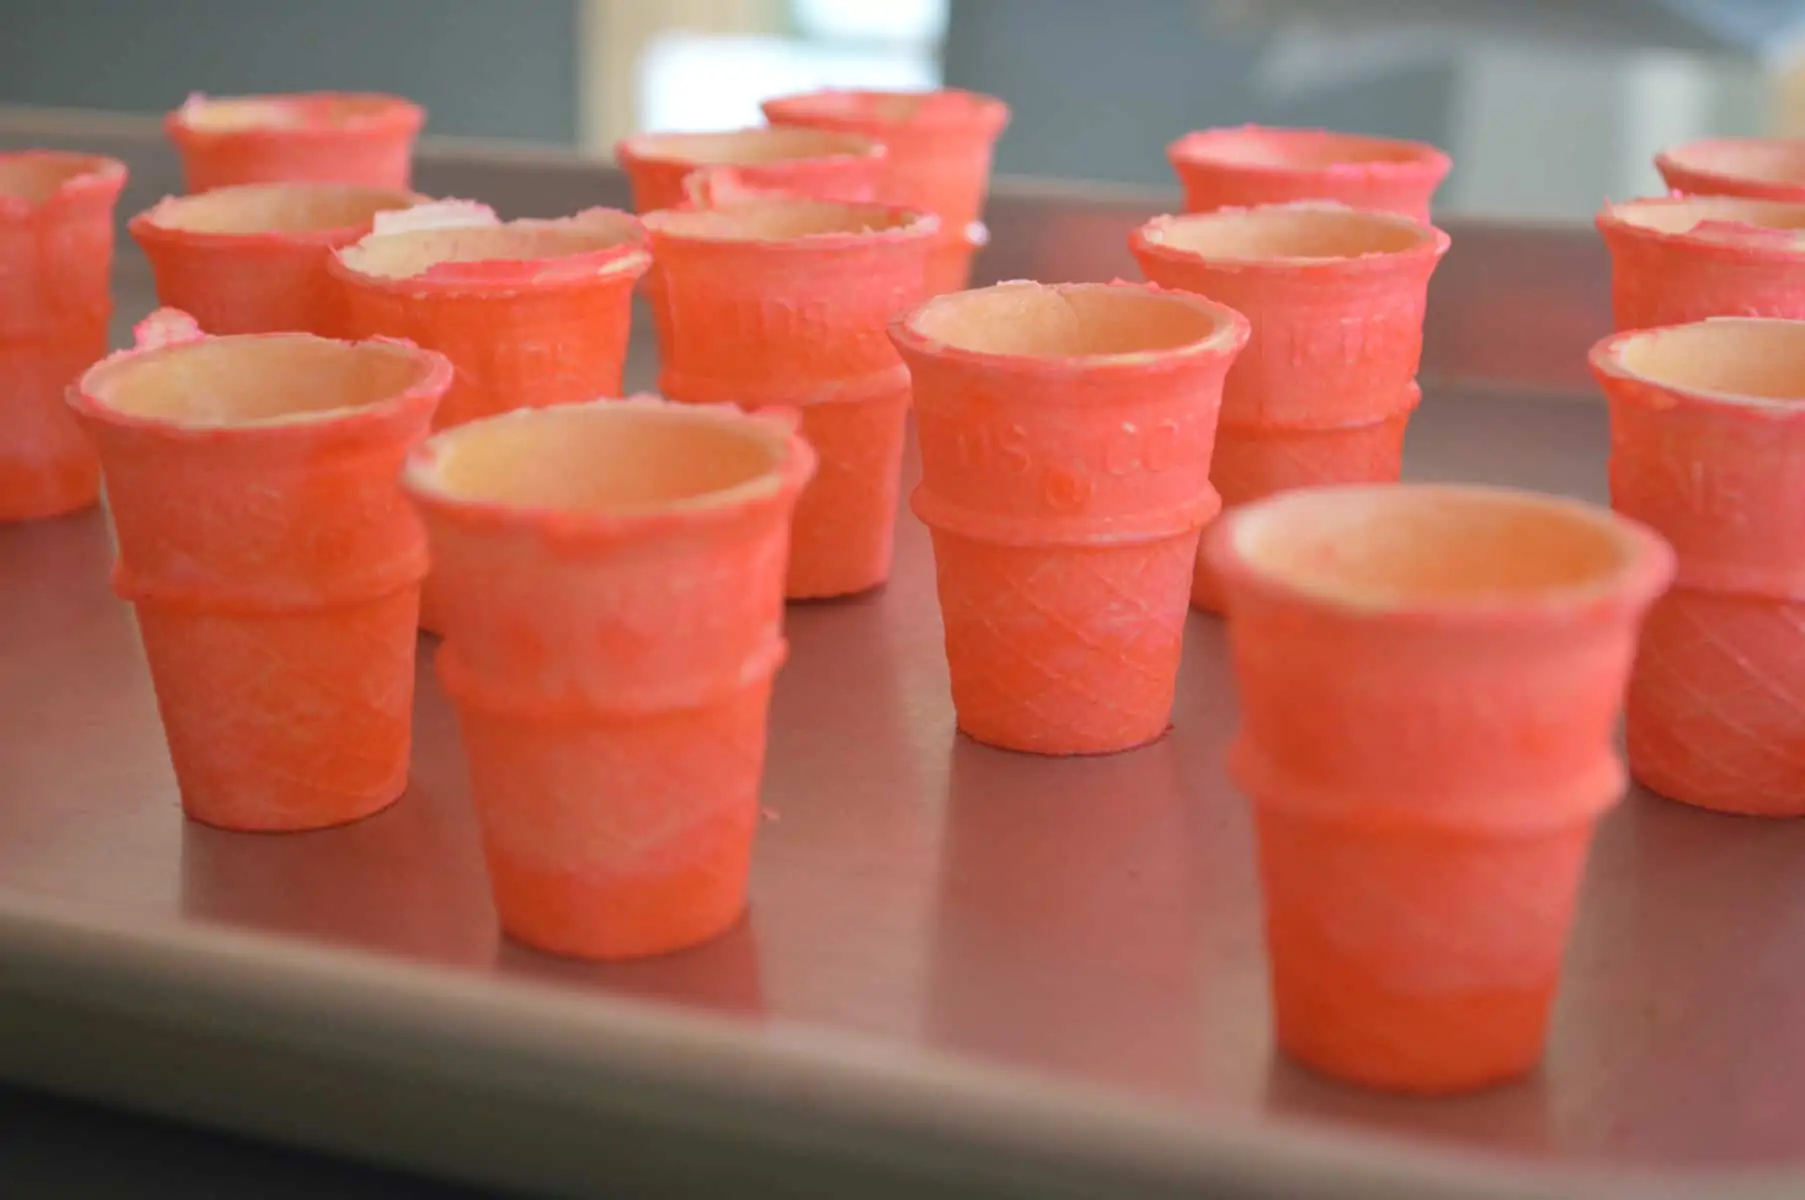
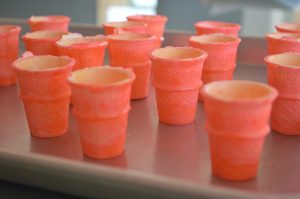
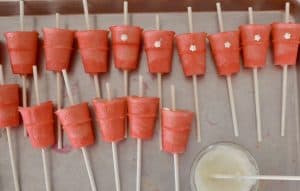
Next, spray the cake mini ice cream cones with food coloring spray. Be sure to work in a ventilated area and use gloves if you have them (the food coloring will dye your hands!)

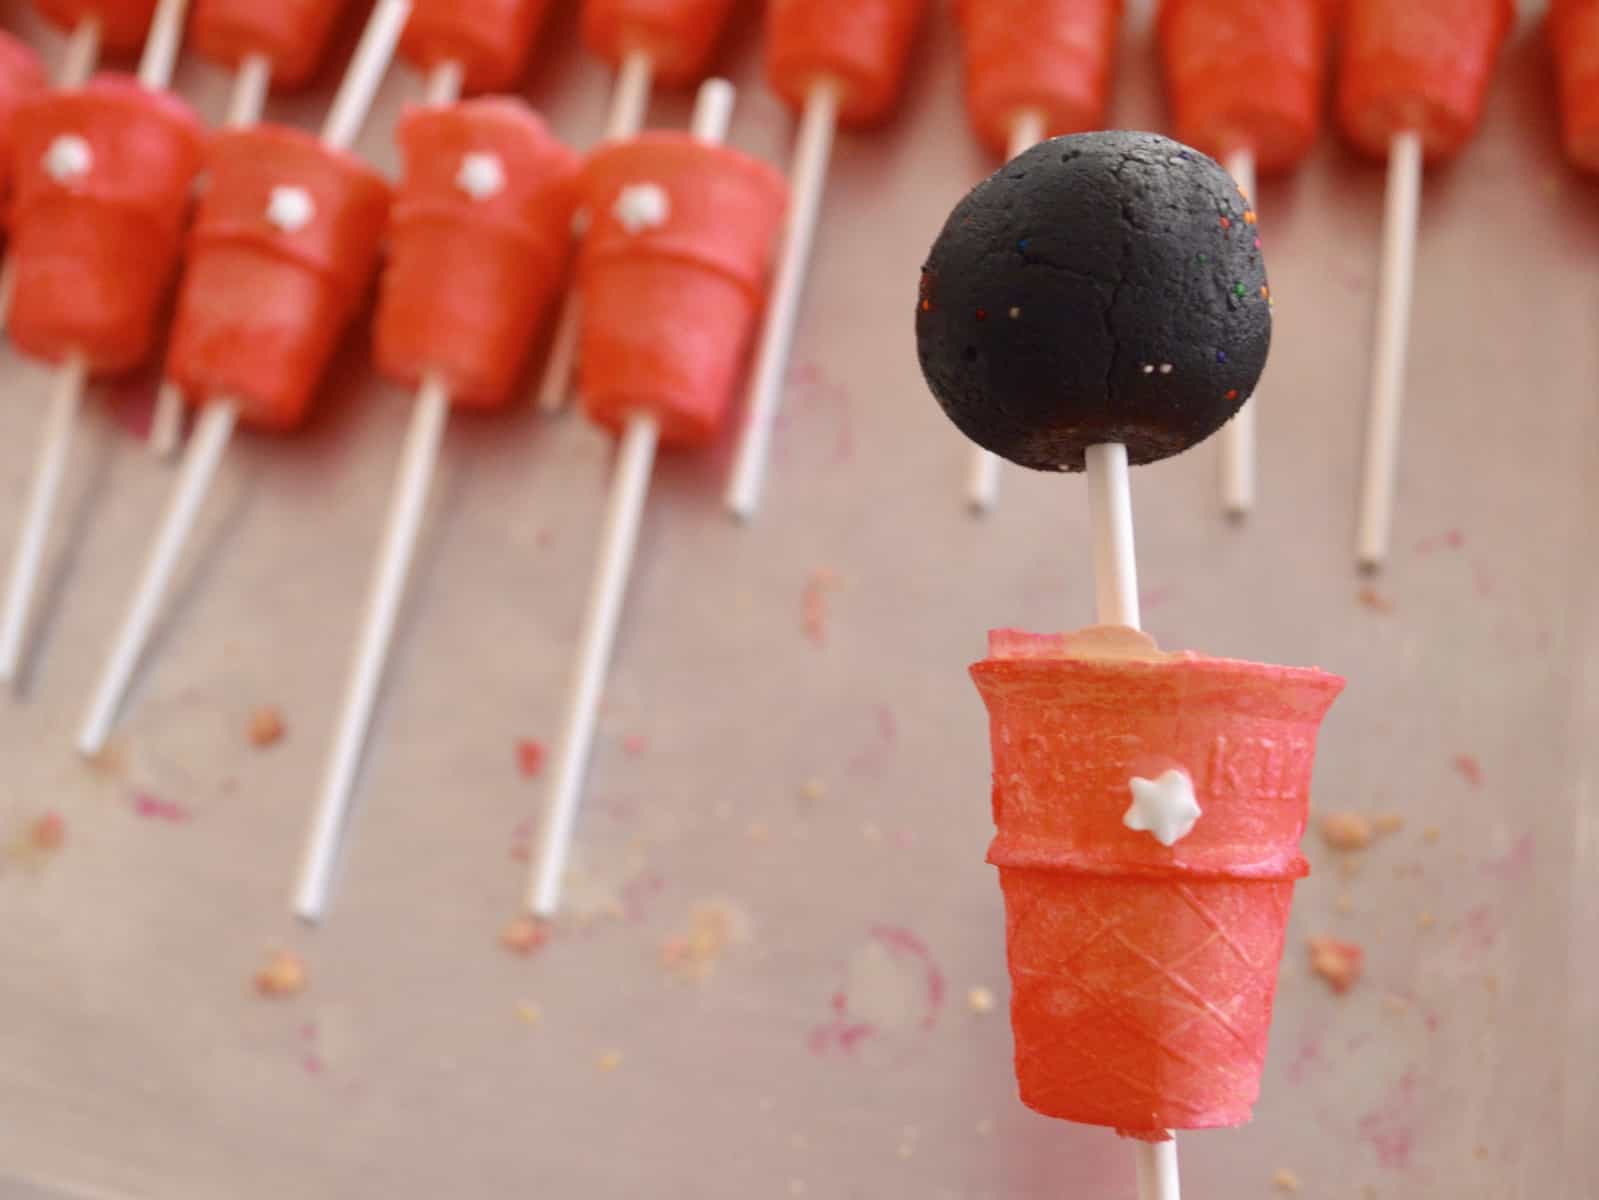
Insert a cake pop stick into the center of the mini ice cream cones. Microwave 2 tablespoons of candy melts and use to glue on the stars for the microphone cake pops.
Add the Oreo balls to the top of the microphone cake pop sticks. Place in freezer while making the coating.
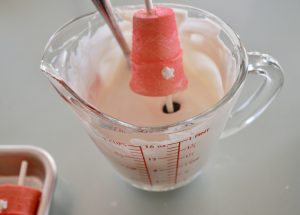
Microwave the candy melts according to package directions until they are completely melted. Be sure to transfer melts to a container that is not glass or metal (you don’t want the melts retaining heat). Carefully dip the Oreo ball into the coating while holding back the cone. Allow excess coating to drizzle off then push cone up to attach to Oreo ball.

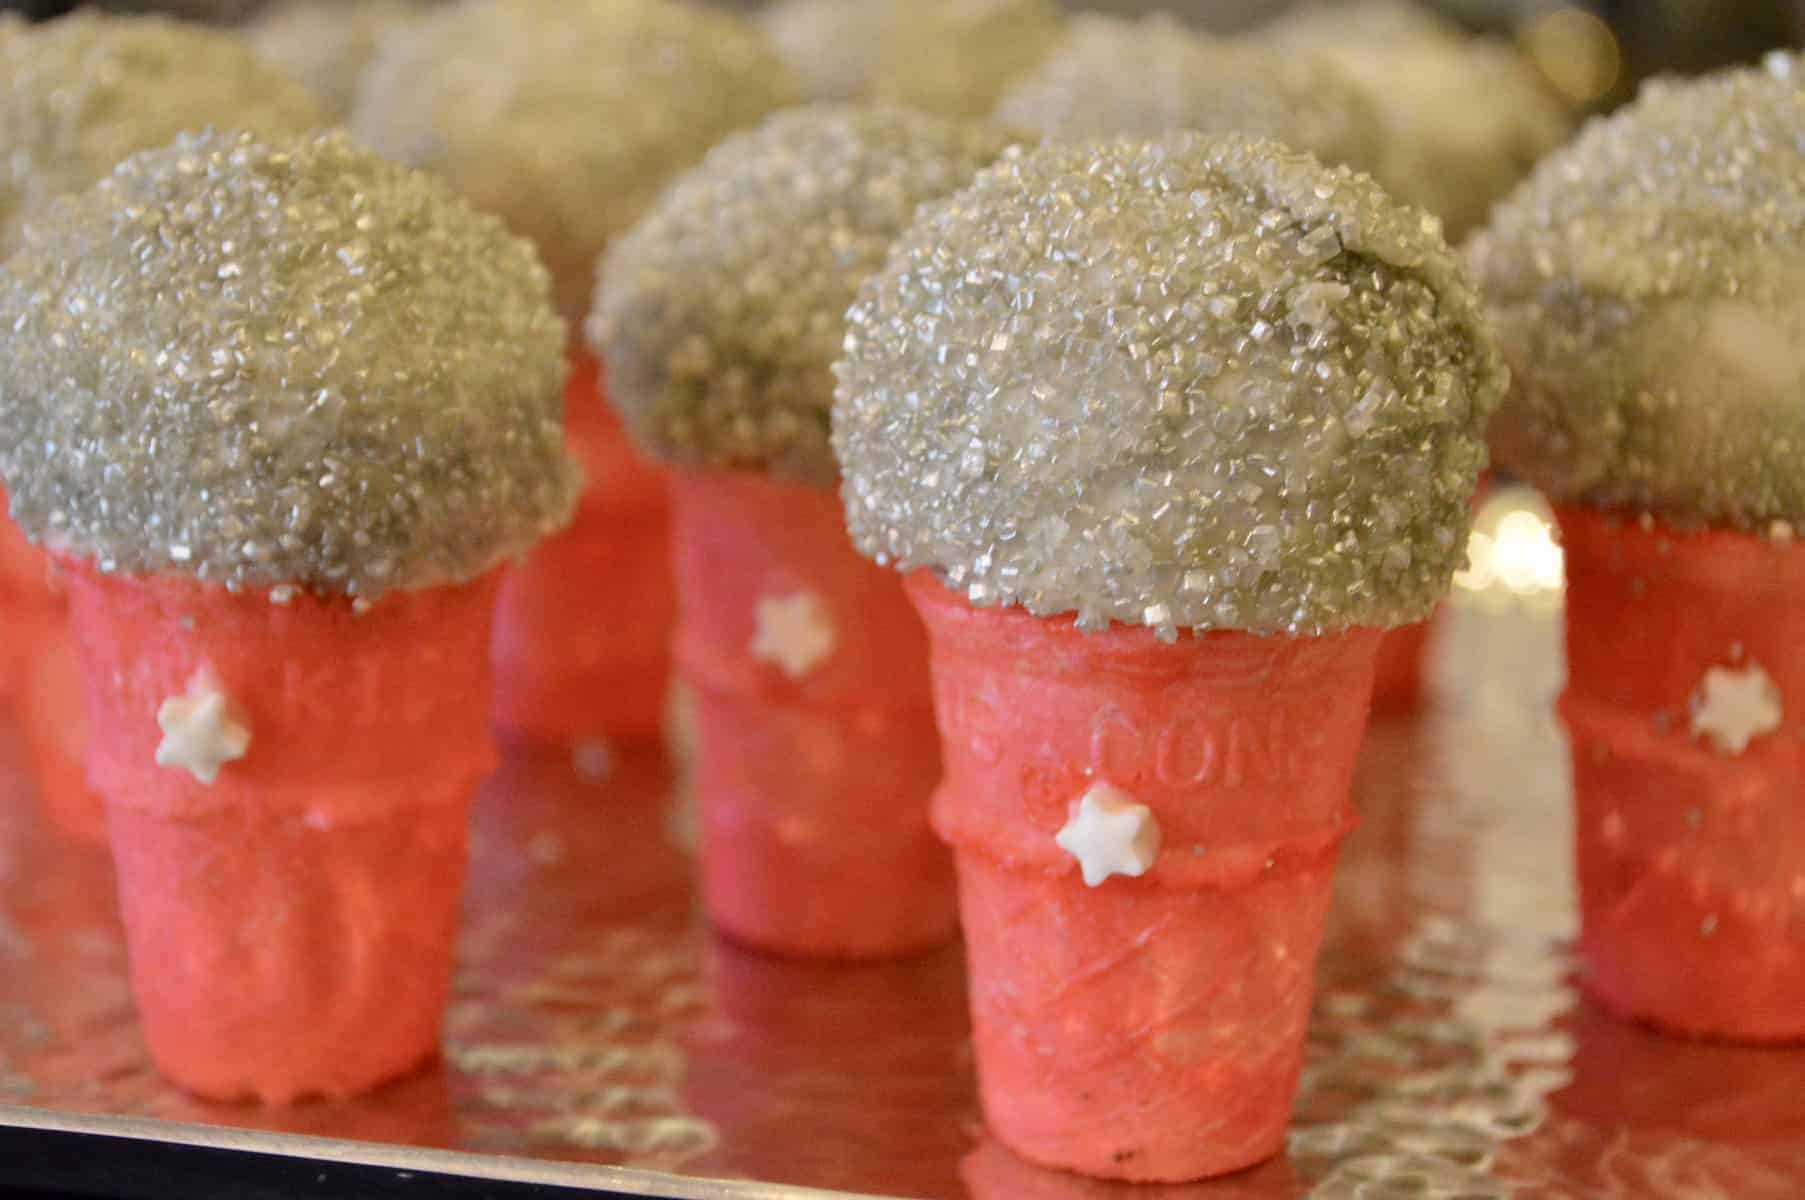
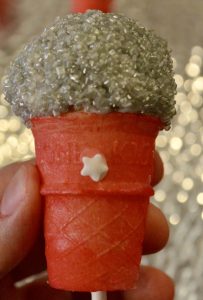
Cover the top Oreo ball with silver sprinkles to resemble a microphone.
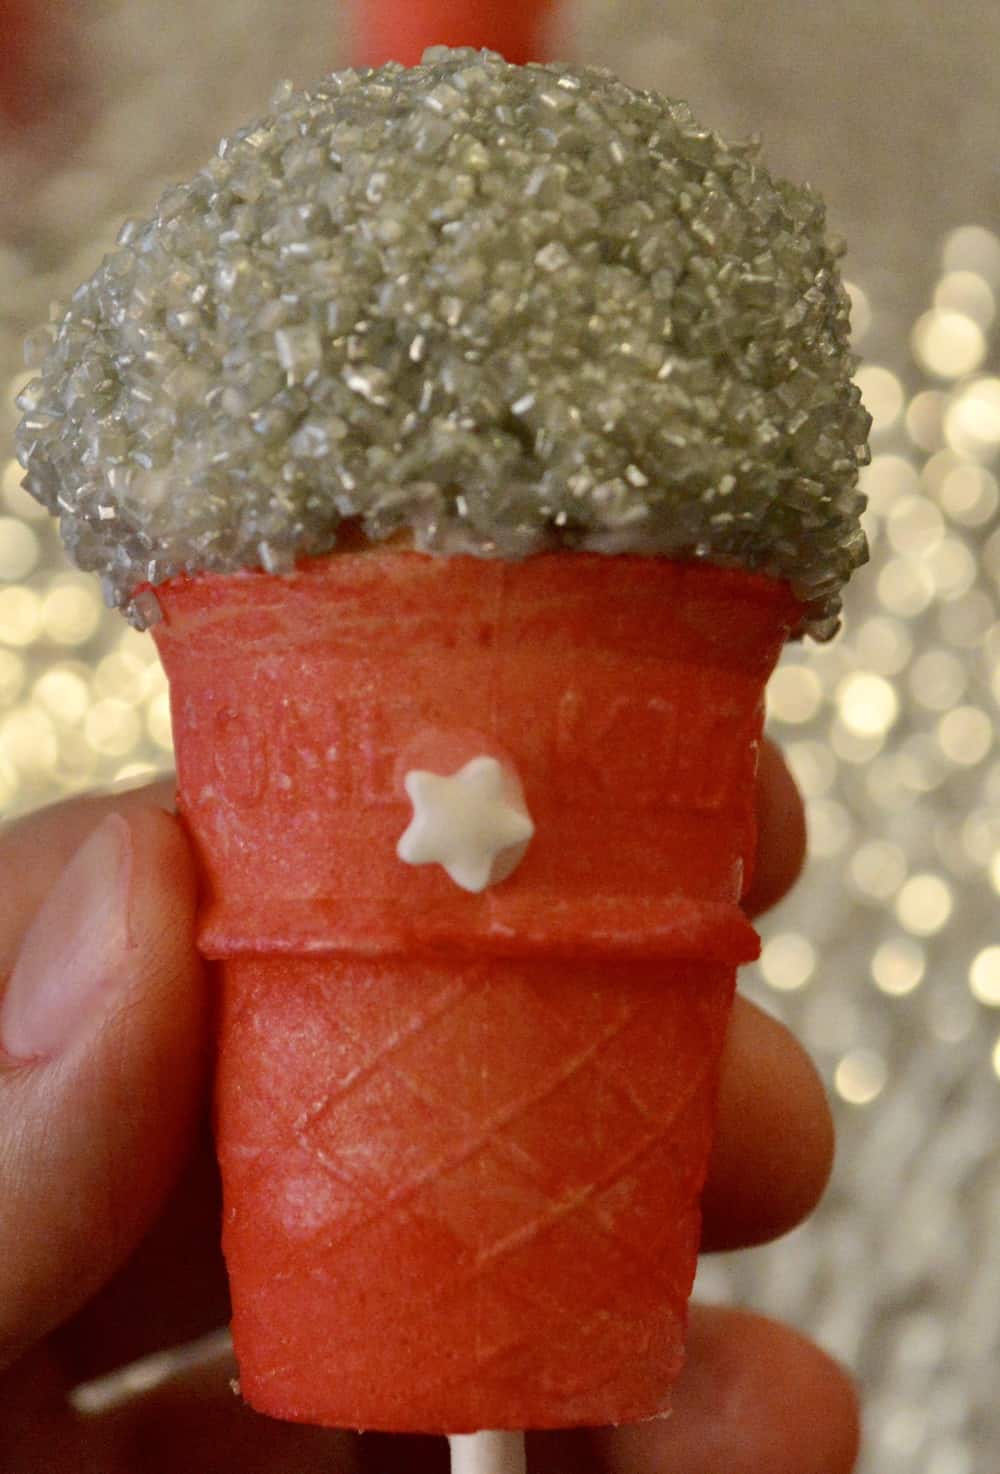
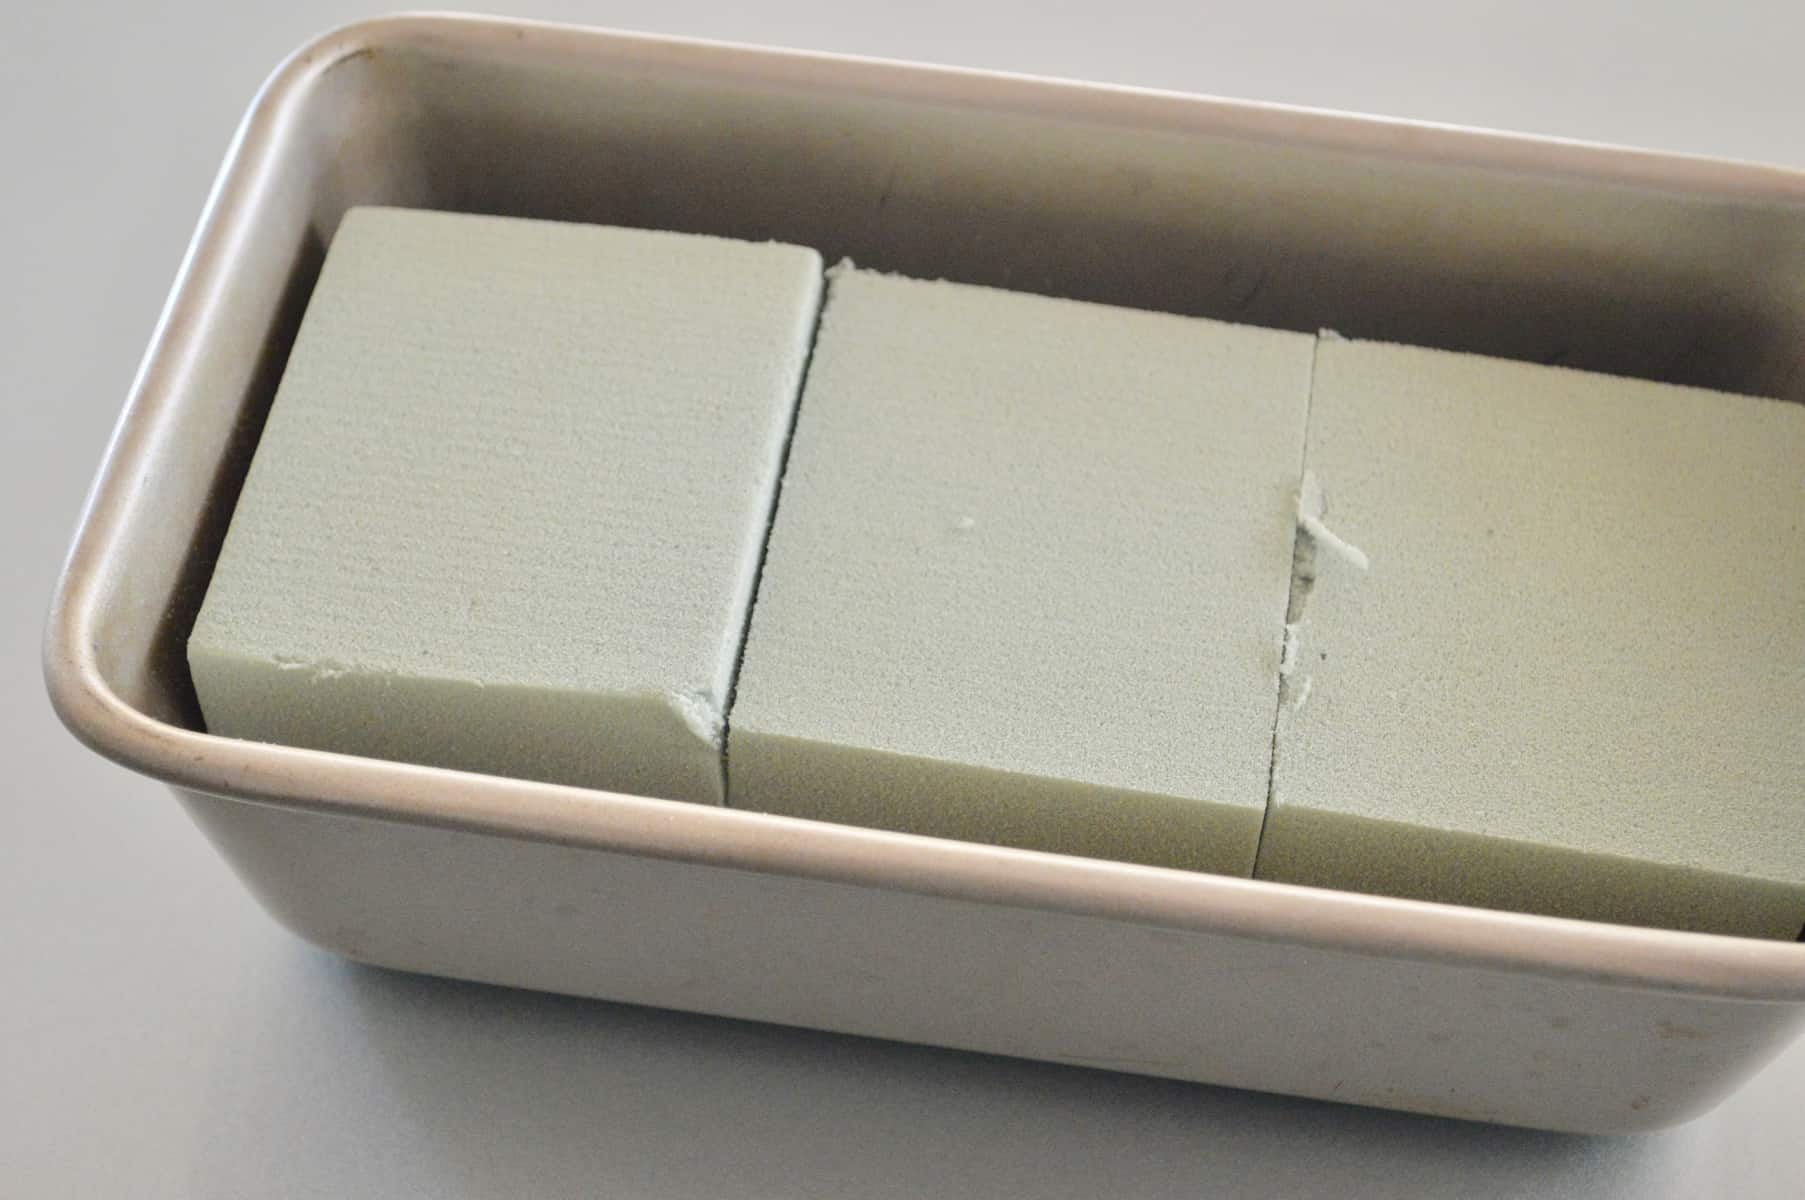
To dry, stick the cake pop into floral foam so it has a chance to completely harden. You could also use a cake pop stand for this.
If desired, remove the stick from the microphone through the bottom of the cone. Refrigerate until ready to eat (up to 3 days in advance). Leave at room temperate for 30 minutes prior to serving.
So if you have a budding rockstar or want to have a fun baby shower or karaoke party treat, be sure to make these delicious and fun microphone cake pops!

Microphone Cake Pops
Ingredients
- 1 14.3. ounce package Oreos
- 6 ounces cream cheese, softened
- ¼ cup round multi-colored sprinkles
- 18 mini ice cream cones such as Joy
- 2 12 ounce bags Wilton candy melts (I used white)
- 1 can Wilton color mist food coloring spray (I used pink)
- 1 5.25 ounce container silver sprinkles
- 18 star-shaped sprinkles (I used white)
- 18 cake pop sticks
Instructions
- In a food processor, chop Oreos until finely crumbled. Add in cream cheese and pulse until combined and mixture forms a dough ball. Transfer to a bowl and fold in sprinkles to combine. Refrigerate for 10 minutes.

- Meanwhile, spray the mini ice cream cones using the food coloring spray, spraying the outside of the cone. Set aside.
- Remove the Oreo mixture and roll the dough into 18 evenly-sized balls.

- Place a cake pop stick through the mini ice cream cone. To add on the microphone star buttons, microwave 2 tablespoons of candy melts and use the melts as “glue” to add on the stars.

- When dry, add an Oreo ball on top. Place the tray of microphones in the freezer for 10 minutes while you prepare the coating.

- Microwave the candy melts in a large bowl according to package directions, until melted and ready to dip. Be sure to transfer mixture to a non-glass container for dipping (glass retains too much heat for the pops.) In a separate bowl, add the silver sprinkles for dipping.
- Working one at a time, dip the Oreo ball into the candy melts letting the excess drip off. Push up the cone so it connects with the Oreo ball. Before it dries, coat the Oreo ball with the silver sprinkles. Stick the completed microphone cake pop into floral foam to dry. Continue with the remaining cake pops.

- Once dry, carefully remove the stick pulling through the bottom of the cake pop. Alternatively, you can keep the stick on. Store in an airtight container in the refrigerator and let sit at room temperature 30 minutes prior to serving.


Nutrition