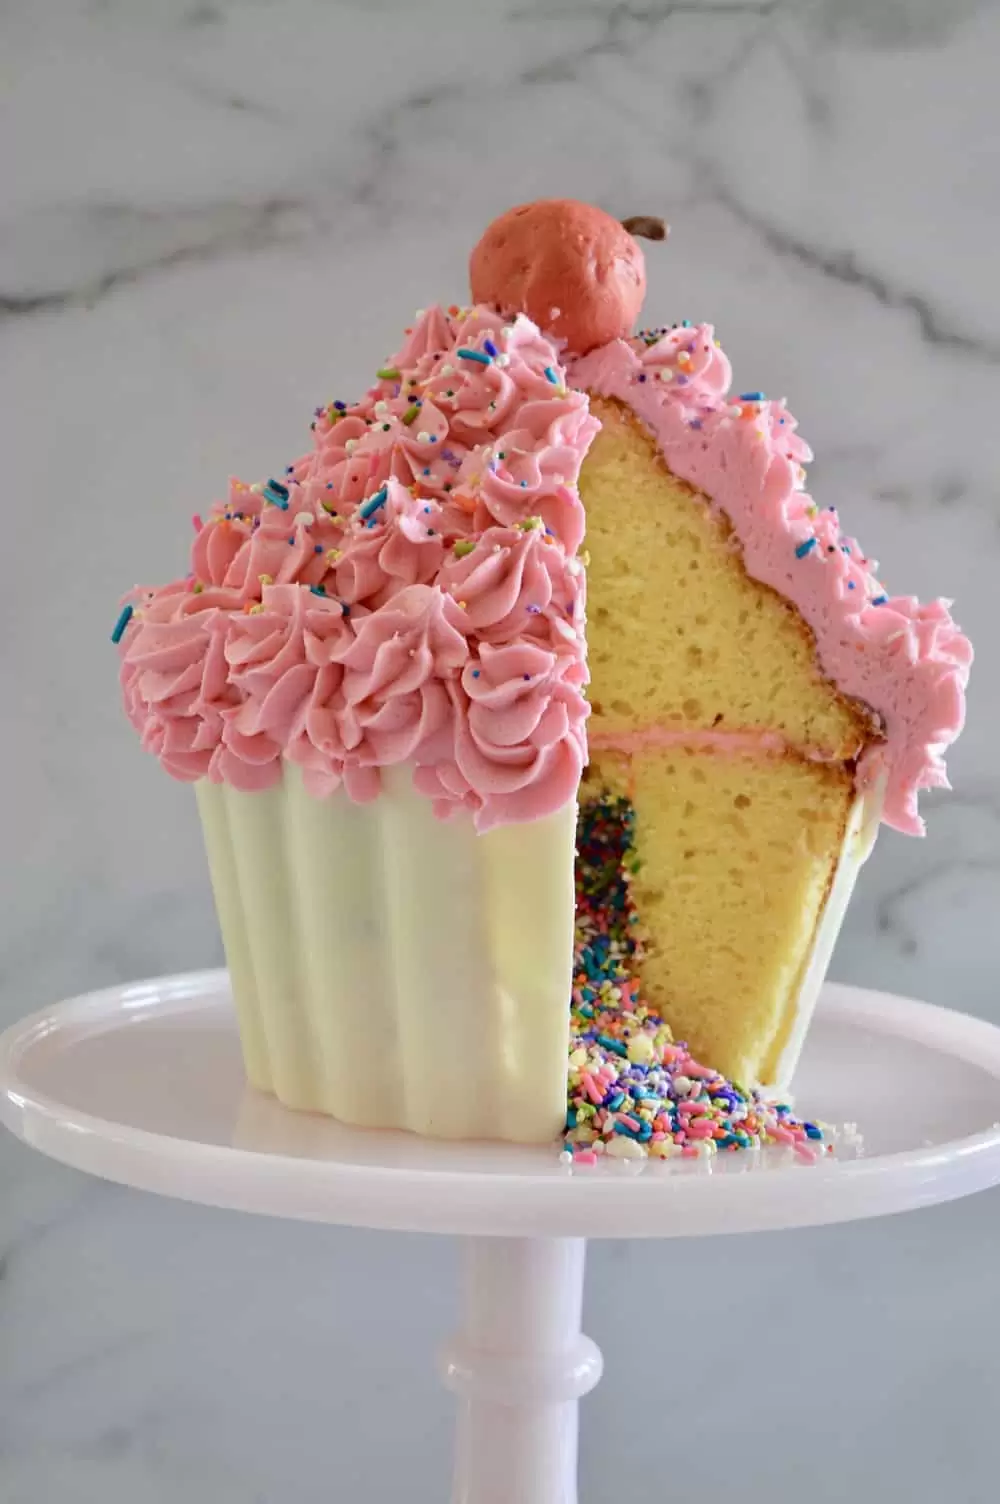
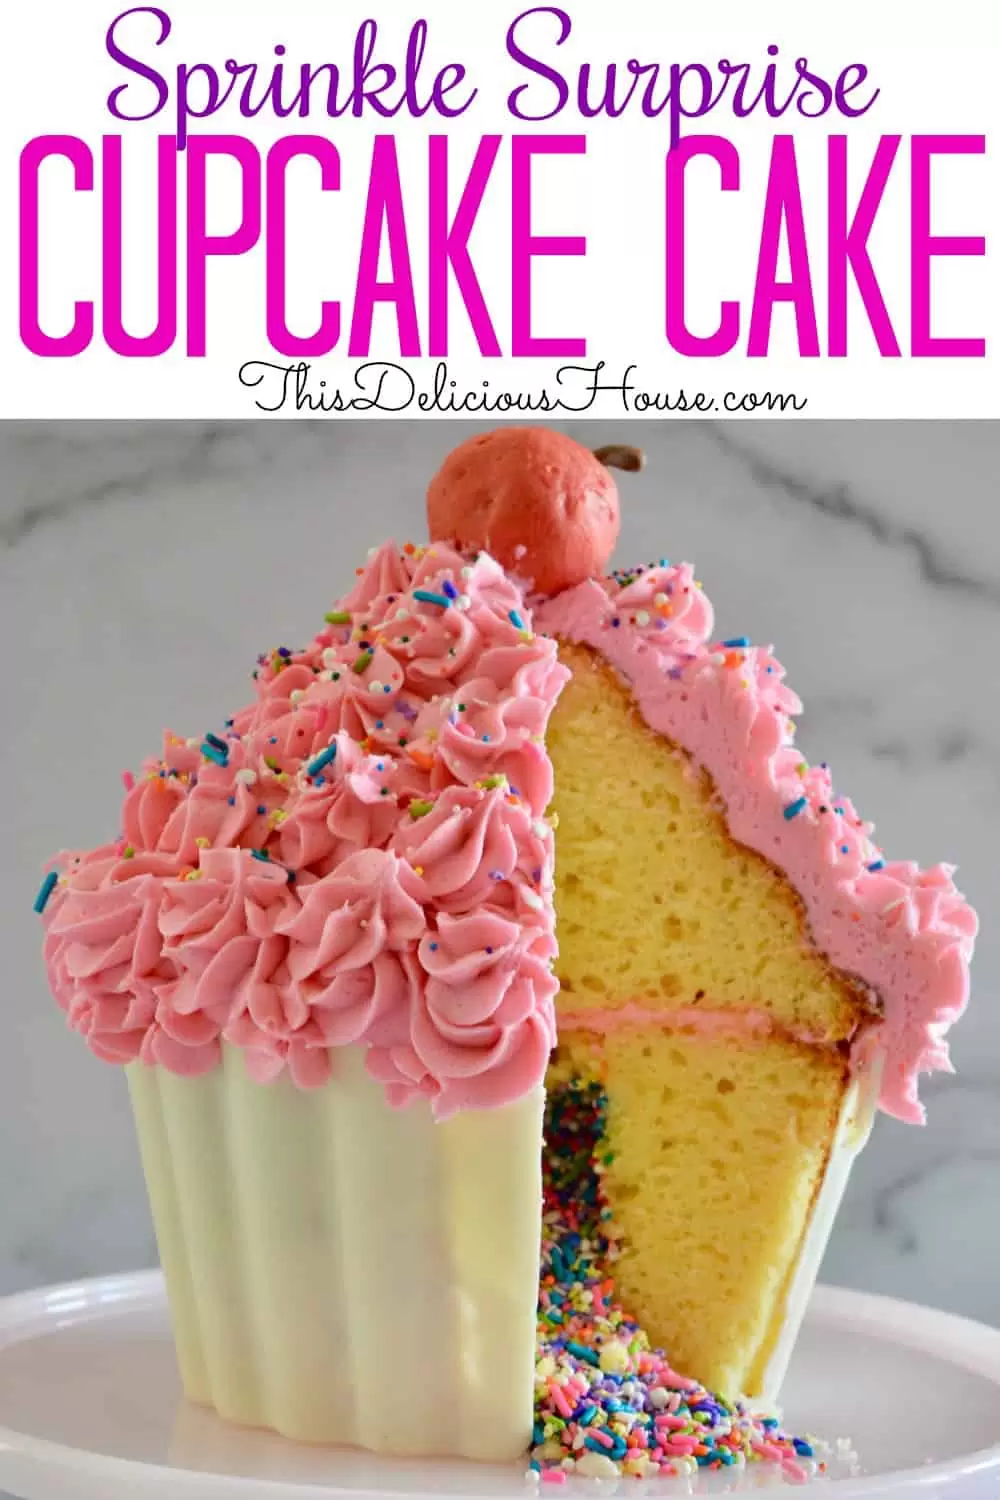
Complete instructions on how to make a Giant Cupcake Cake with a sprinkle piñata surprise and hard shell cupcake liner. Don’t miss this sprinkle surprise cupcake cake pan tutorial that includes a cake truffle cherry on top!
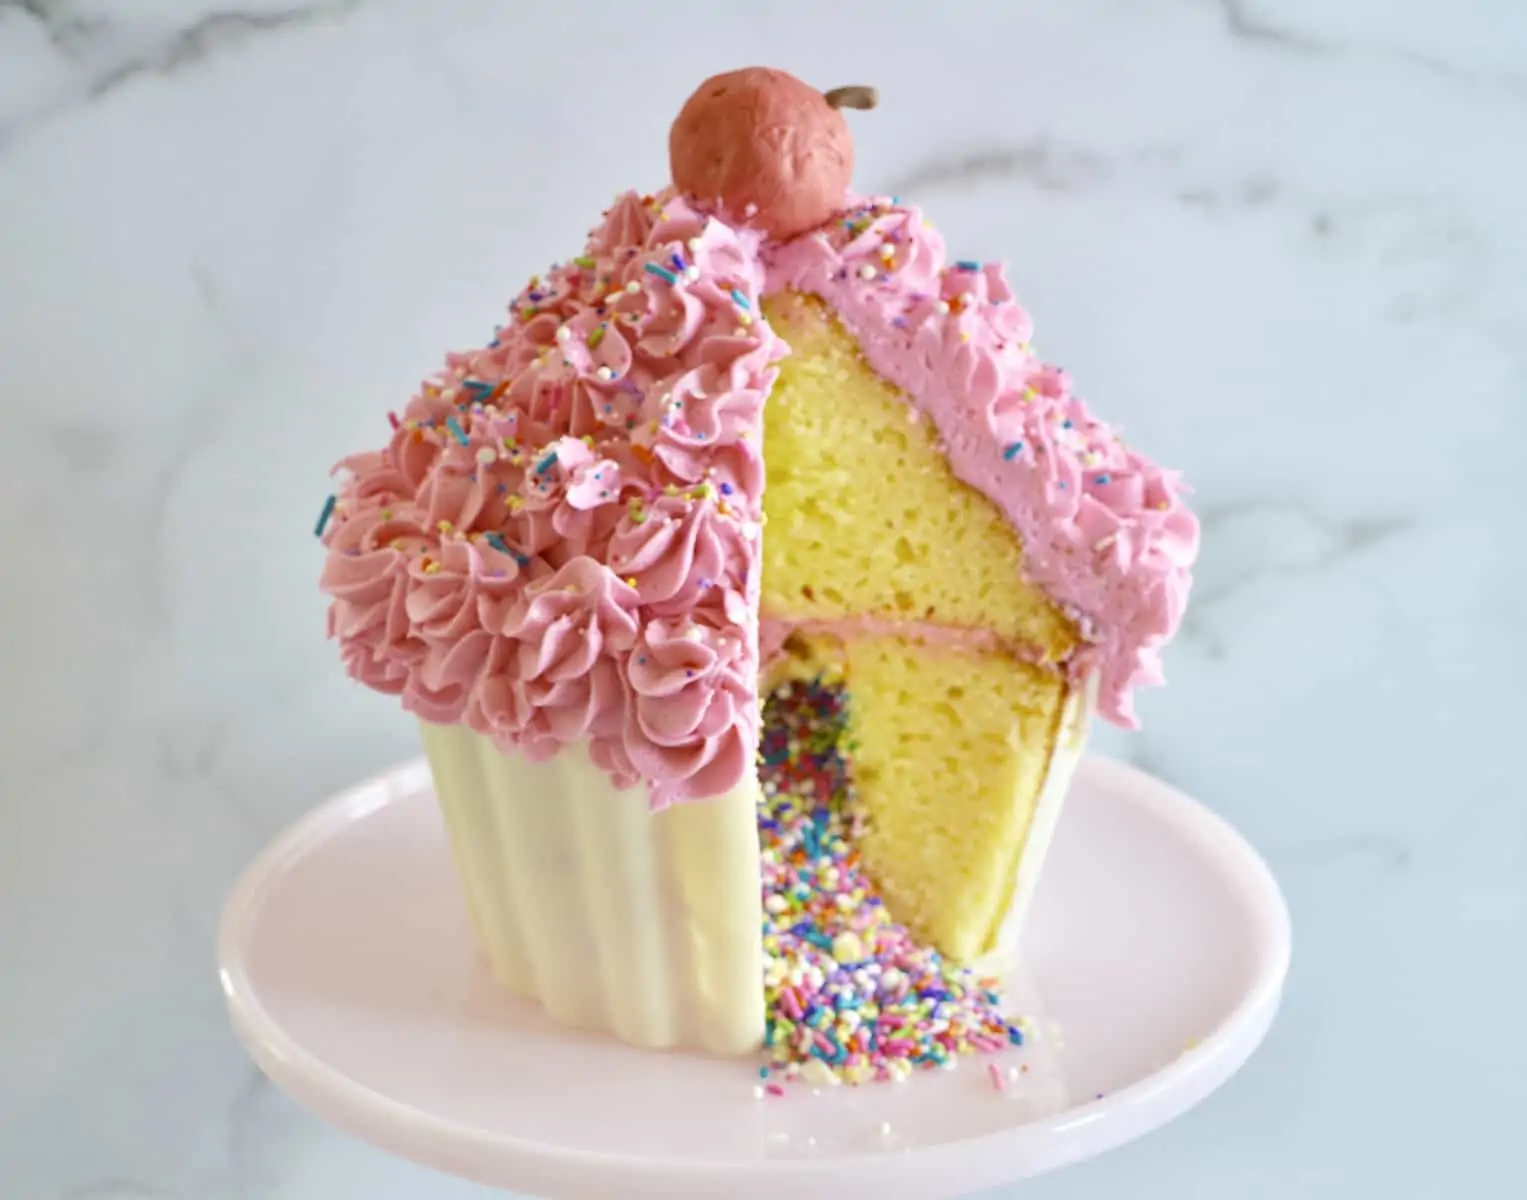
If you ever wondered how to make a giant cupcake cake, now’s your chance to see exactly how it done. What may look daunting, is surprisingly easy and perfect for your next party.
I will provide you the basic instructions on how to put together a giant cupcake cake filled with sprinkles. As well as show you how to make a giant cupcake pan liner using candy coating. Feel free to customize this cake to your liking using your favorite cake batter and colors.
Giant Cupcake Cake Pan
So it all starts with the right pan. Here is used the Wilton Giant Cupcake Pan but there are many other variations of this design now available. You could do a Giant Cupcake Silicon Mold which I’ve never tried but imagine would be great for storage purposes.
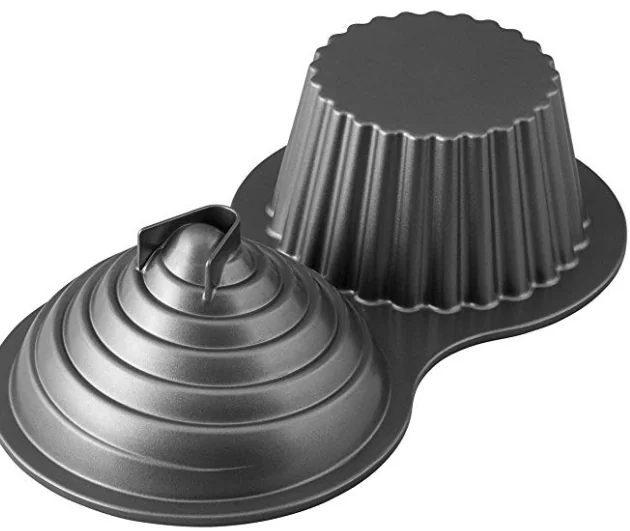
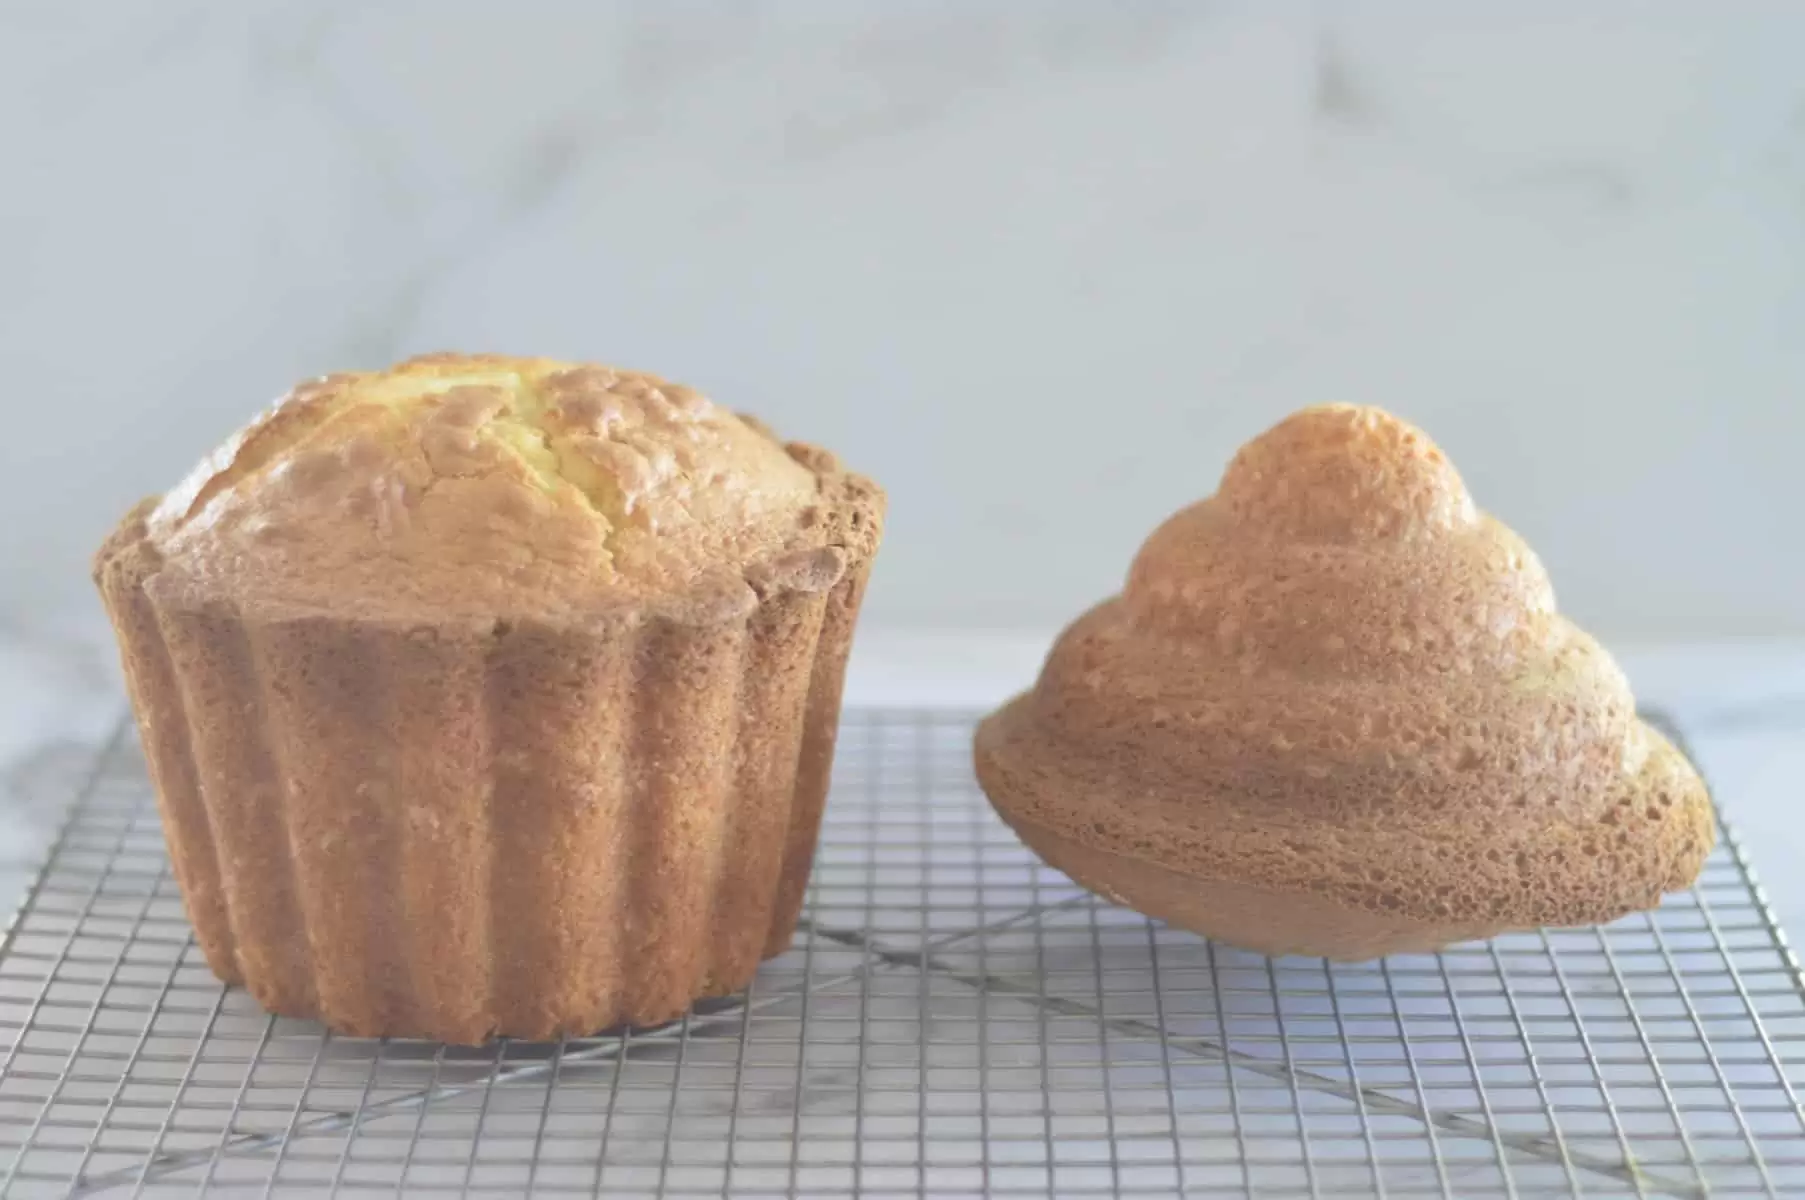
As you can see the pan is shaped with a cupcake bottom and swirled cupcake top. After doing a bunch of research on this cake, I discovered that the biggest complaint was that the bottom part of the cupcake took longer to bake than the top leaving for uneven cooking times. Luckily I figured out how to alleviate this problem.
Step 1: Make the Cake Base
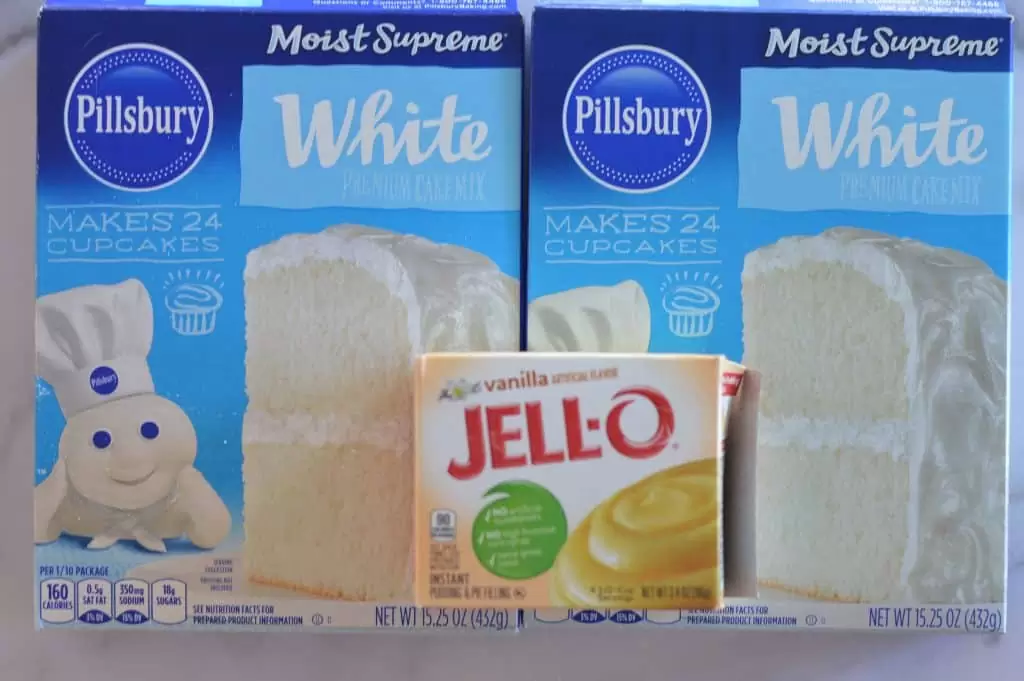
To start, you want to double your recipe for basic cake batter. To keep things simple, I used my favorite box mix paired with a packet of jello pudding. This helps to yield a denser more flavorful cake, perfect for the cupcake pan.
I took a major shortcake using boxed cake mix, but if you wanted to make a homemade batter try this delicious Homemade Yellow Cake Mix recipe just be sure to double the recipe.
Firstly, I made the batter by prepping as instructed on the boxes and adding in the vanilla pudding mix. Next, preheat your oven to 350 degrees. Grease the cupcake bottom portion of the pan using cooking spray or Wilton Cake Release.
How to adjust for varying bake times
After making this cake a couple of times, I discovered that the base portion of the cake needs about 10 minutes more baking time than the top. So to combat this I bake the bottom for 10 minutes before adding batter to the top portion. To keep the top from getting too hot and burning when I add the batter, I simple place a damp towel inside.
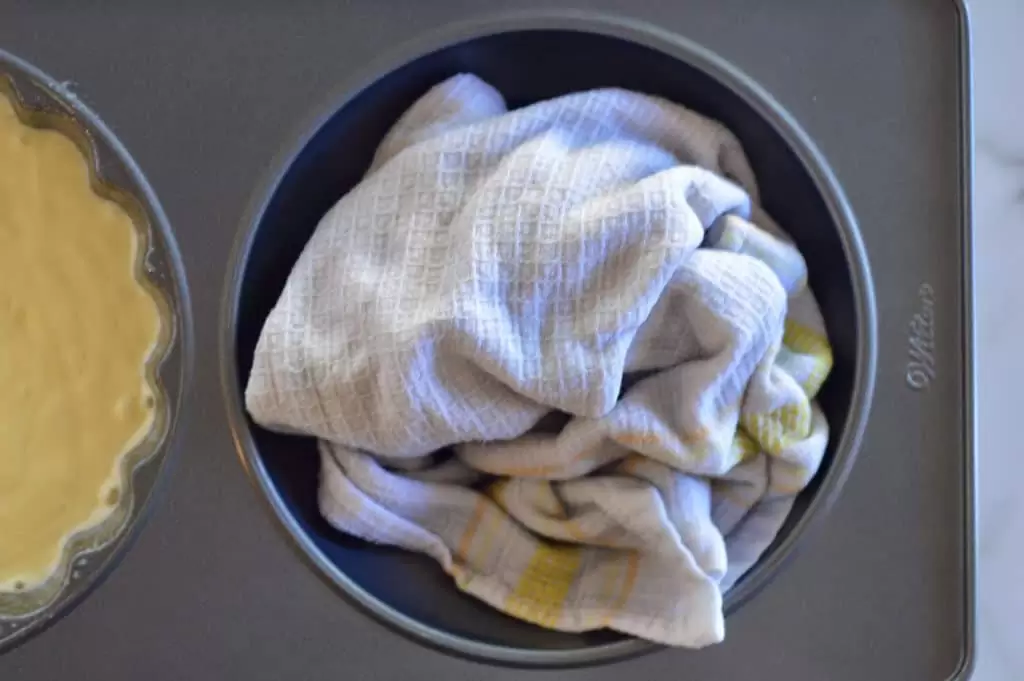
Fill the other side of the pan with batter, being sure to coat it well first. The official Wilton site says to use 3 ½ cups of batter, but that doesn’t seem to be enough batter to yield a full cupcake. I usually just fill until about an 1 ½ from the top.

Bake for 10 minutes, then carefully remove from oven and use tongs to remove the damp towel. If there is any water, use a dish towel to dry if out. Spray with cooking spray and pour in the batter for the top of the cupcake cake leaving about 1 ½ inches from the top. Return to oven and bake for 40-50 minutes or until a toothpick inserted in the cake comes out clean.
Cool on a wire baking rack for at least 10 minutes before removing the cake from the pan.
Step 2: Make the Giant Cupcake Liner
Initially this was the most challenging part of making the cake. However, after many tries and fails, I have discovered how to master making a candy coated giant cupcake liner.
Firstly, thoroughly wash and dry the bottom cupcake portion of cupcake pan. Next, prepare the candy coating. To do this, microwave a bag of Wilton Candy Melts according to package instructions. Pour half of the melted candy into the bottom of the cupcake bottom.
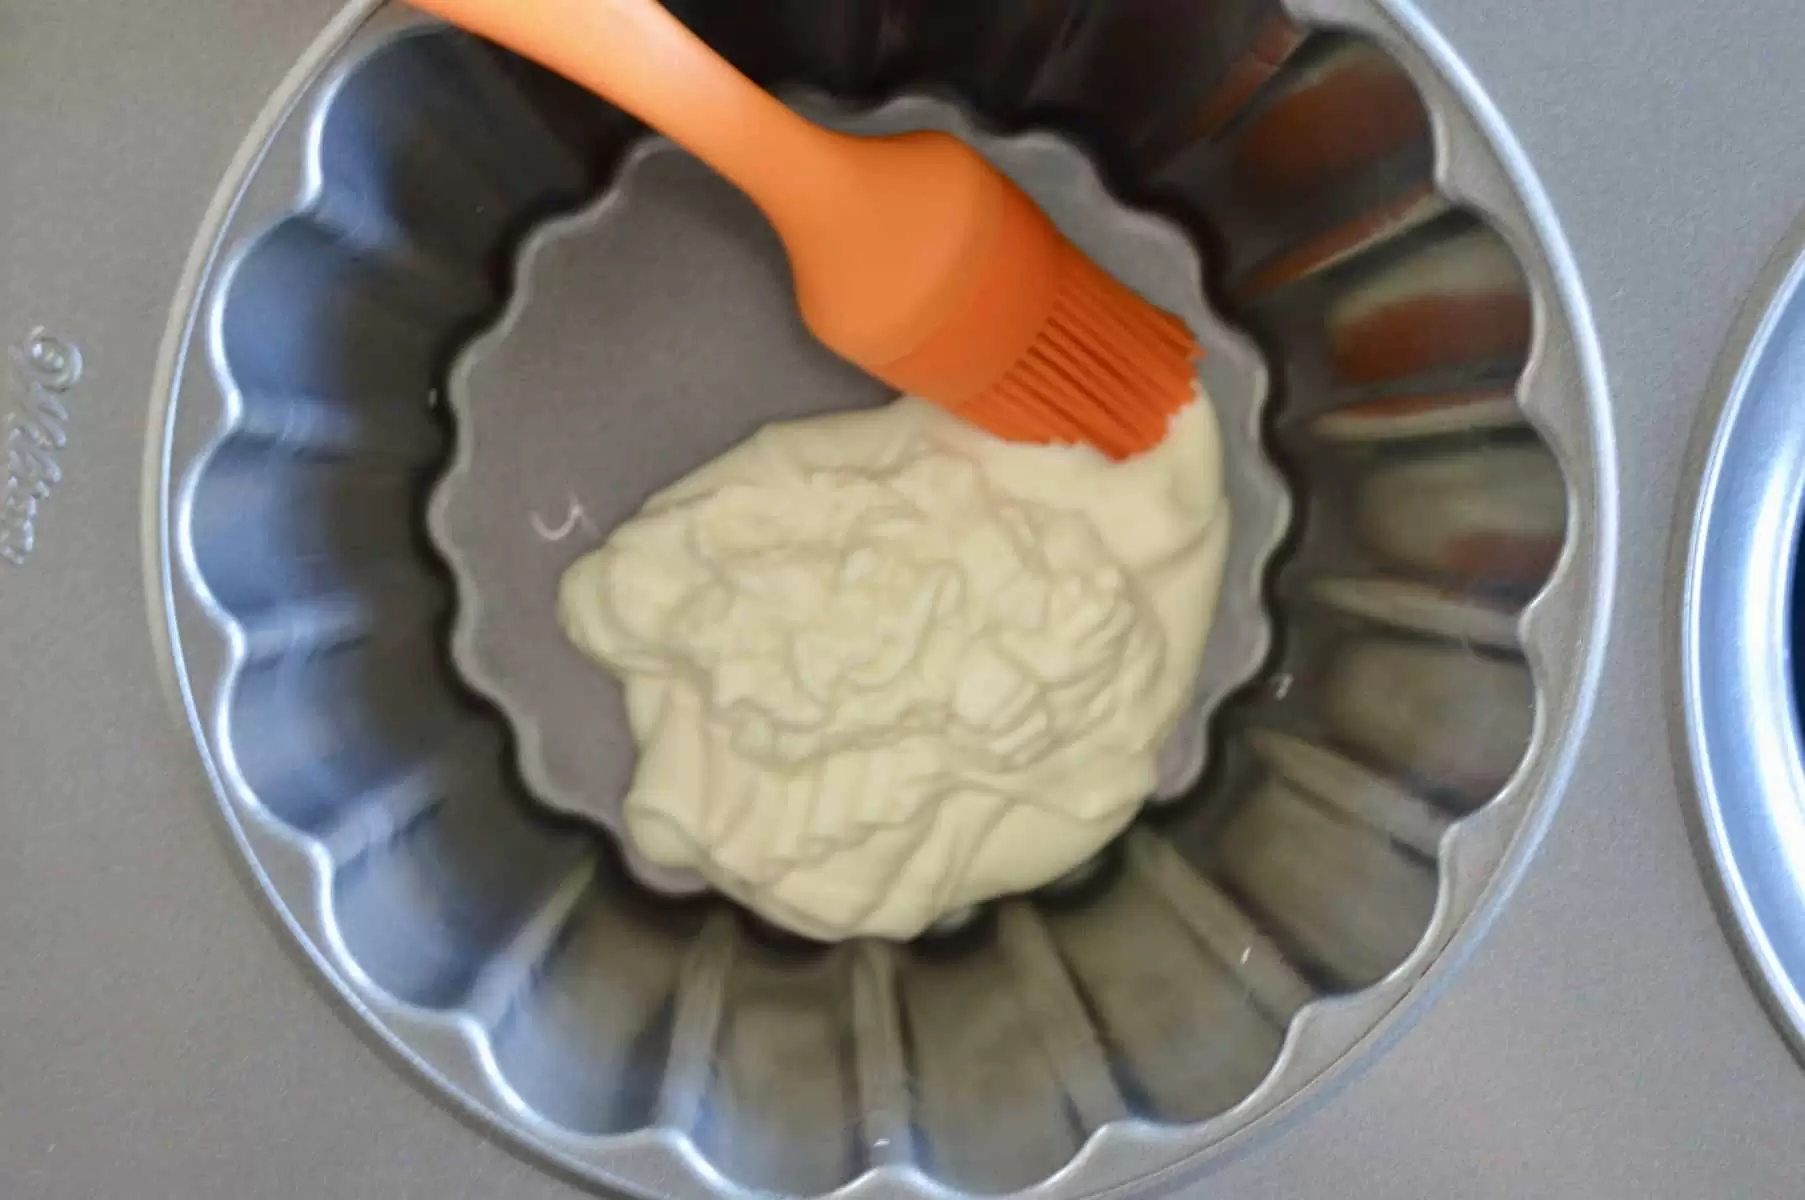
Use a silicon pastry brush to brush up the sides. Place in refrigerator for five minutes to let harden. Note that the inside of the cupcake line doesn’t have to look pretty.
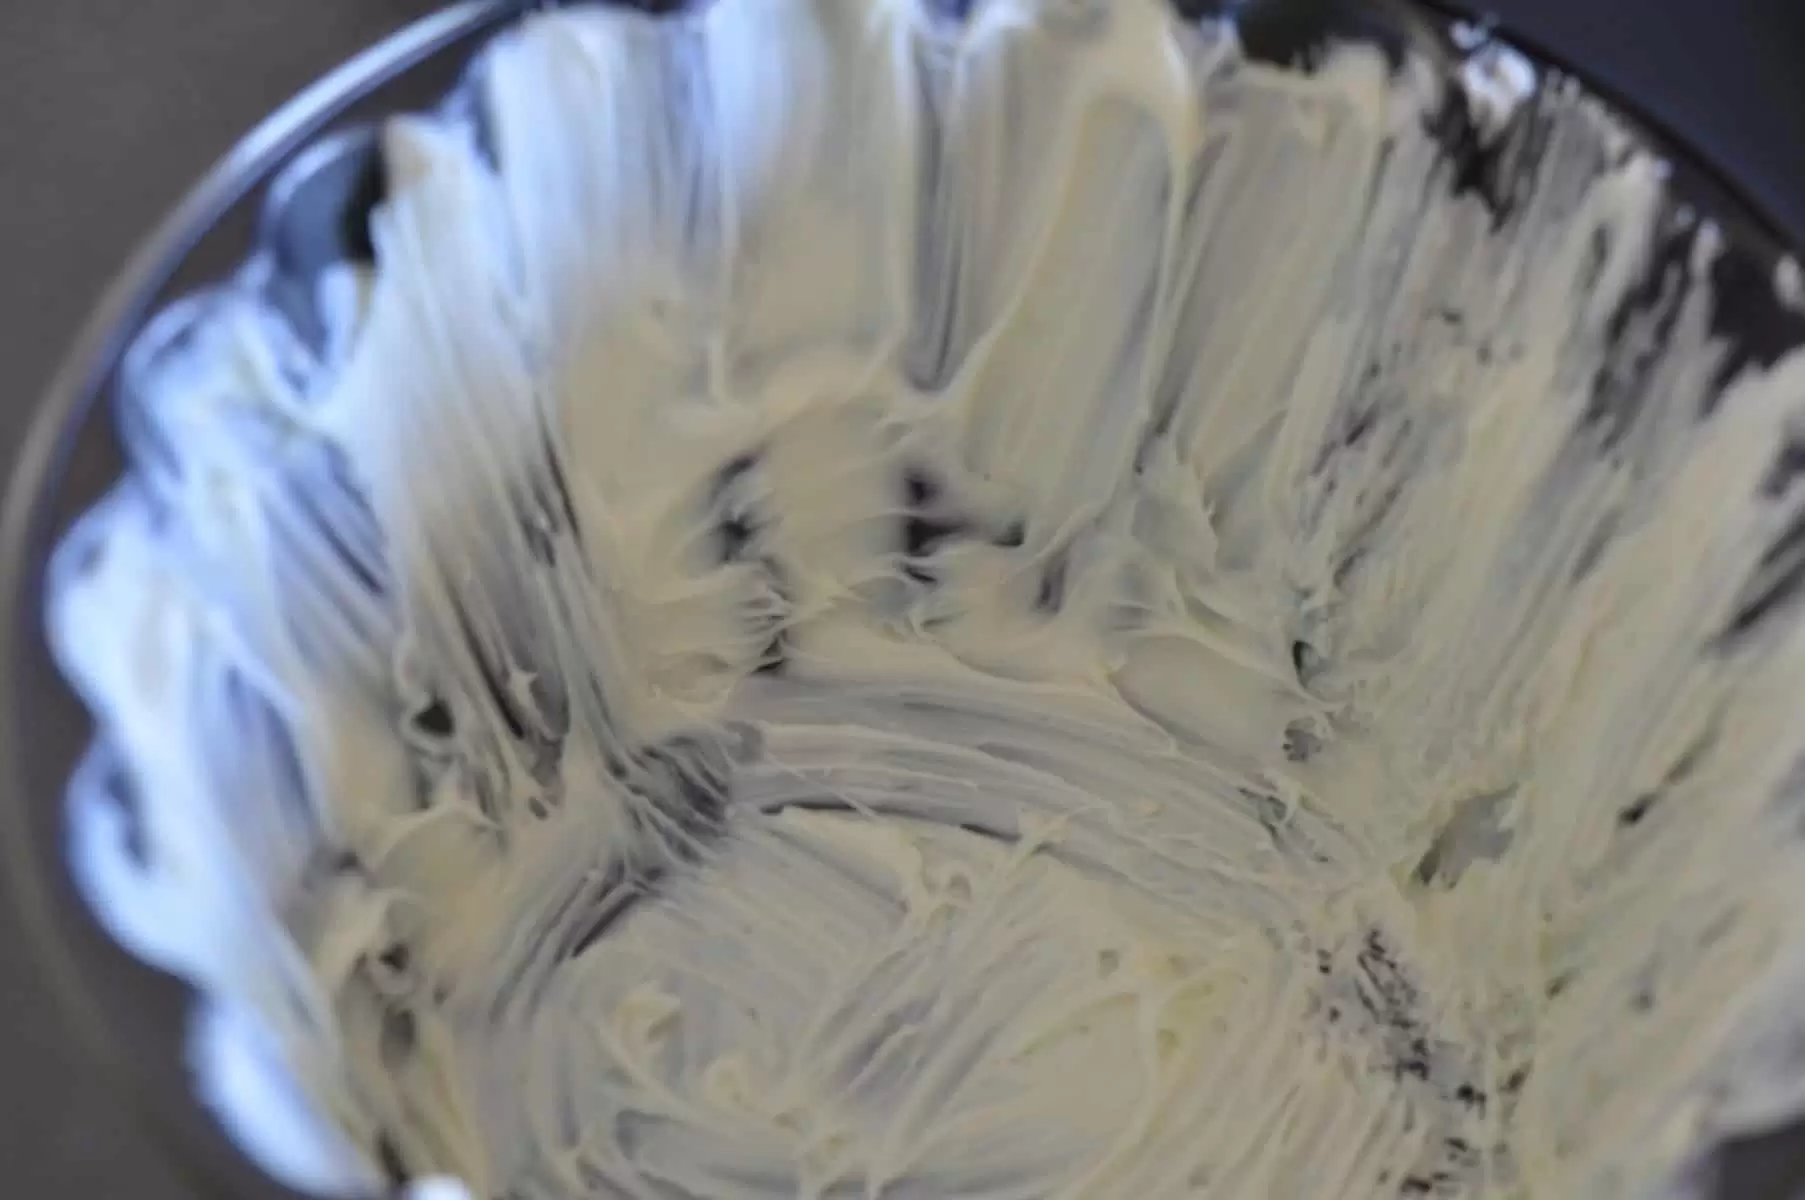
If needed, reheat the remaining candy melts in the microwave. Pour the rest of the candy melts into the cupcake mold and repeat process of painting the sides. Return to refrigerator to harden completely.
Giant Cupcake Liner tip!
Here’s the tip for getting the liner out: if you are unable to easily pull the shell out of the cupcake mold, stick the pan in the freezer for a couple of minutes. You should be able to easily remove the liner without any force. The couple minutes in the freezer usually help to loosen it without pulling.

Don’t worry about the top of the cupcake liner looking jagged, it will be hidden with the top of the cupcake and frosting. Also, if the cupcake liner breaks, just crumble it up and start over. Candy melts can be melted and remelted without any issues.
Step 3: Trim the Cake and Fill
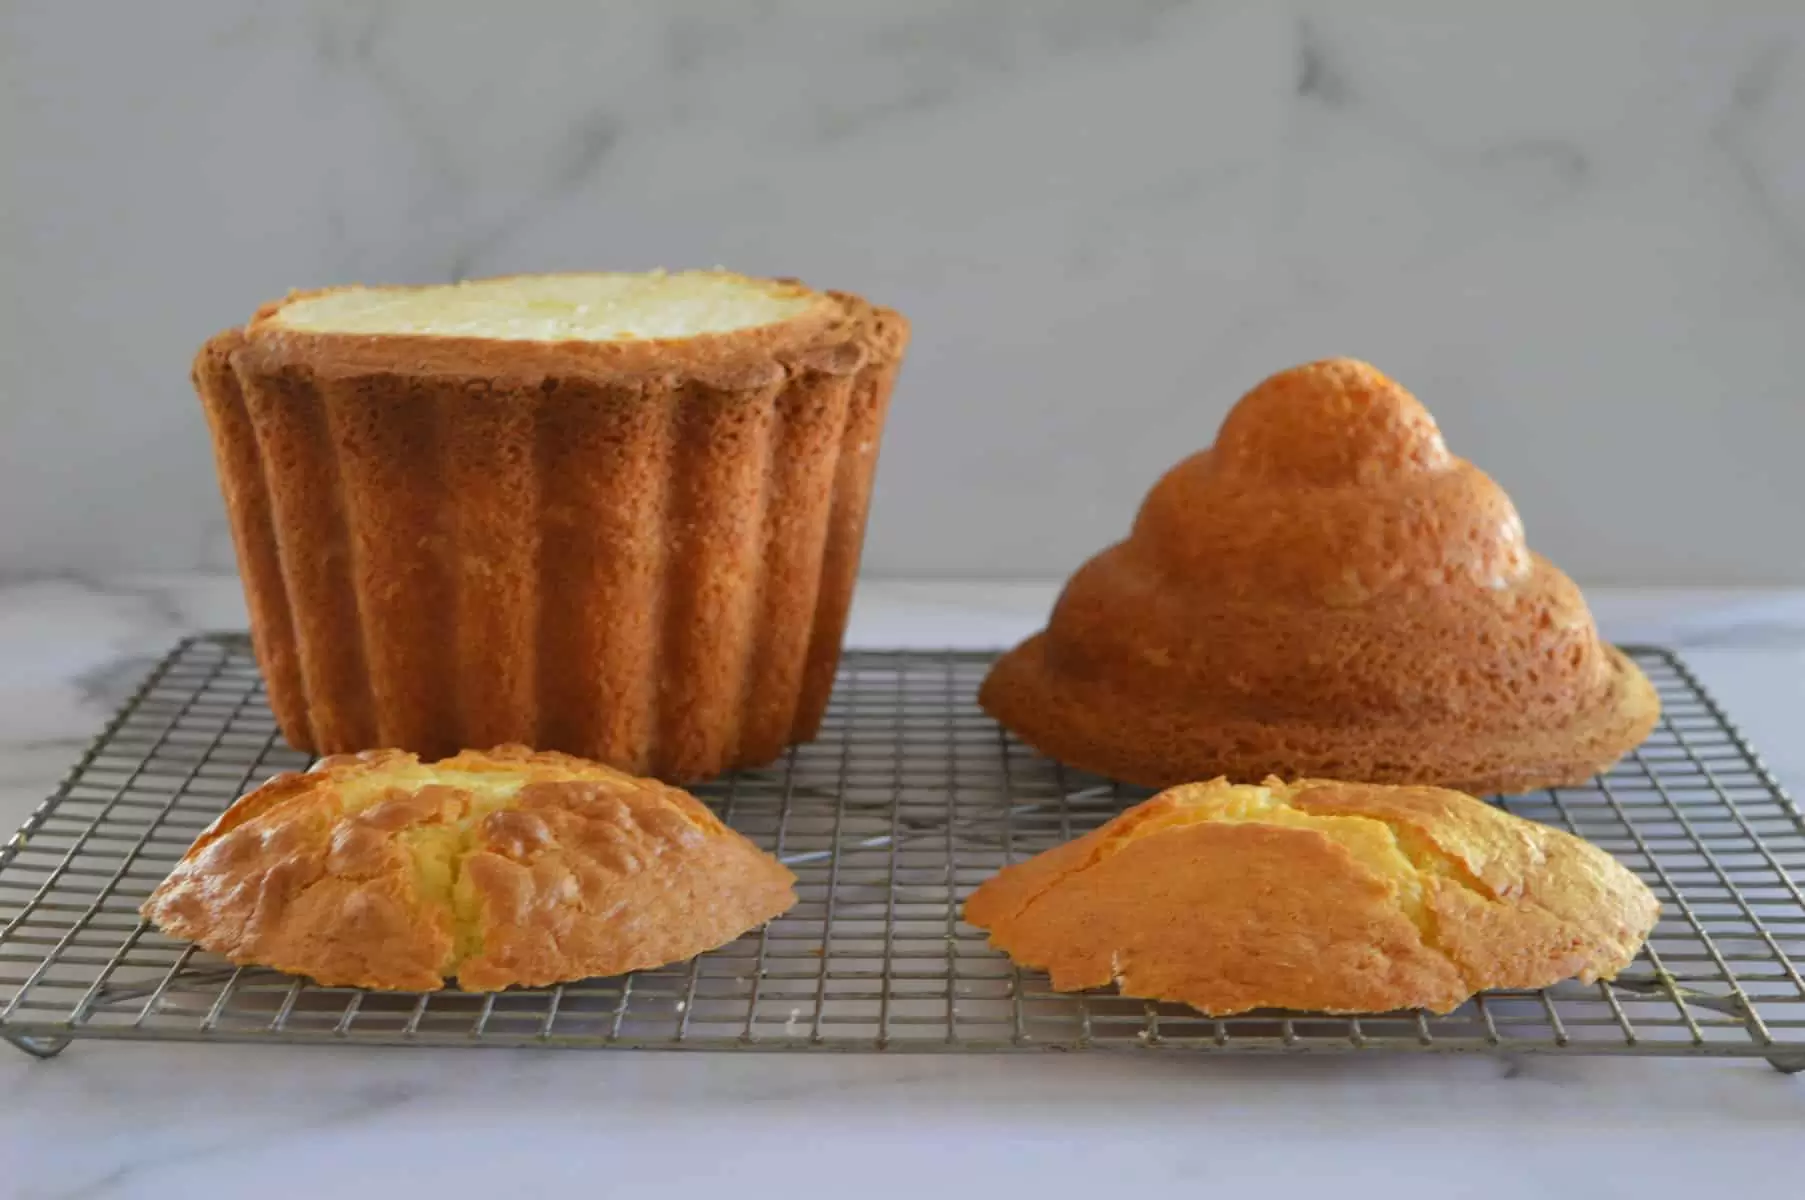
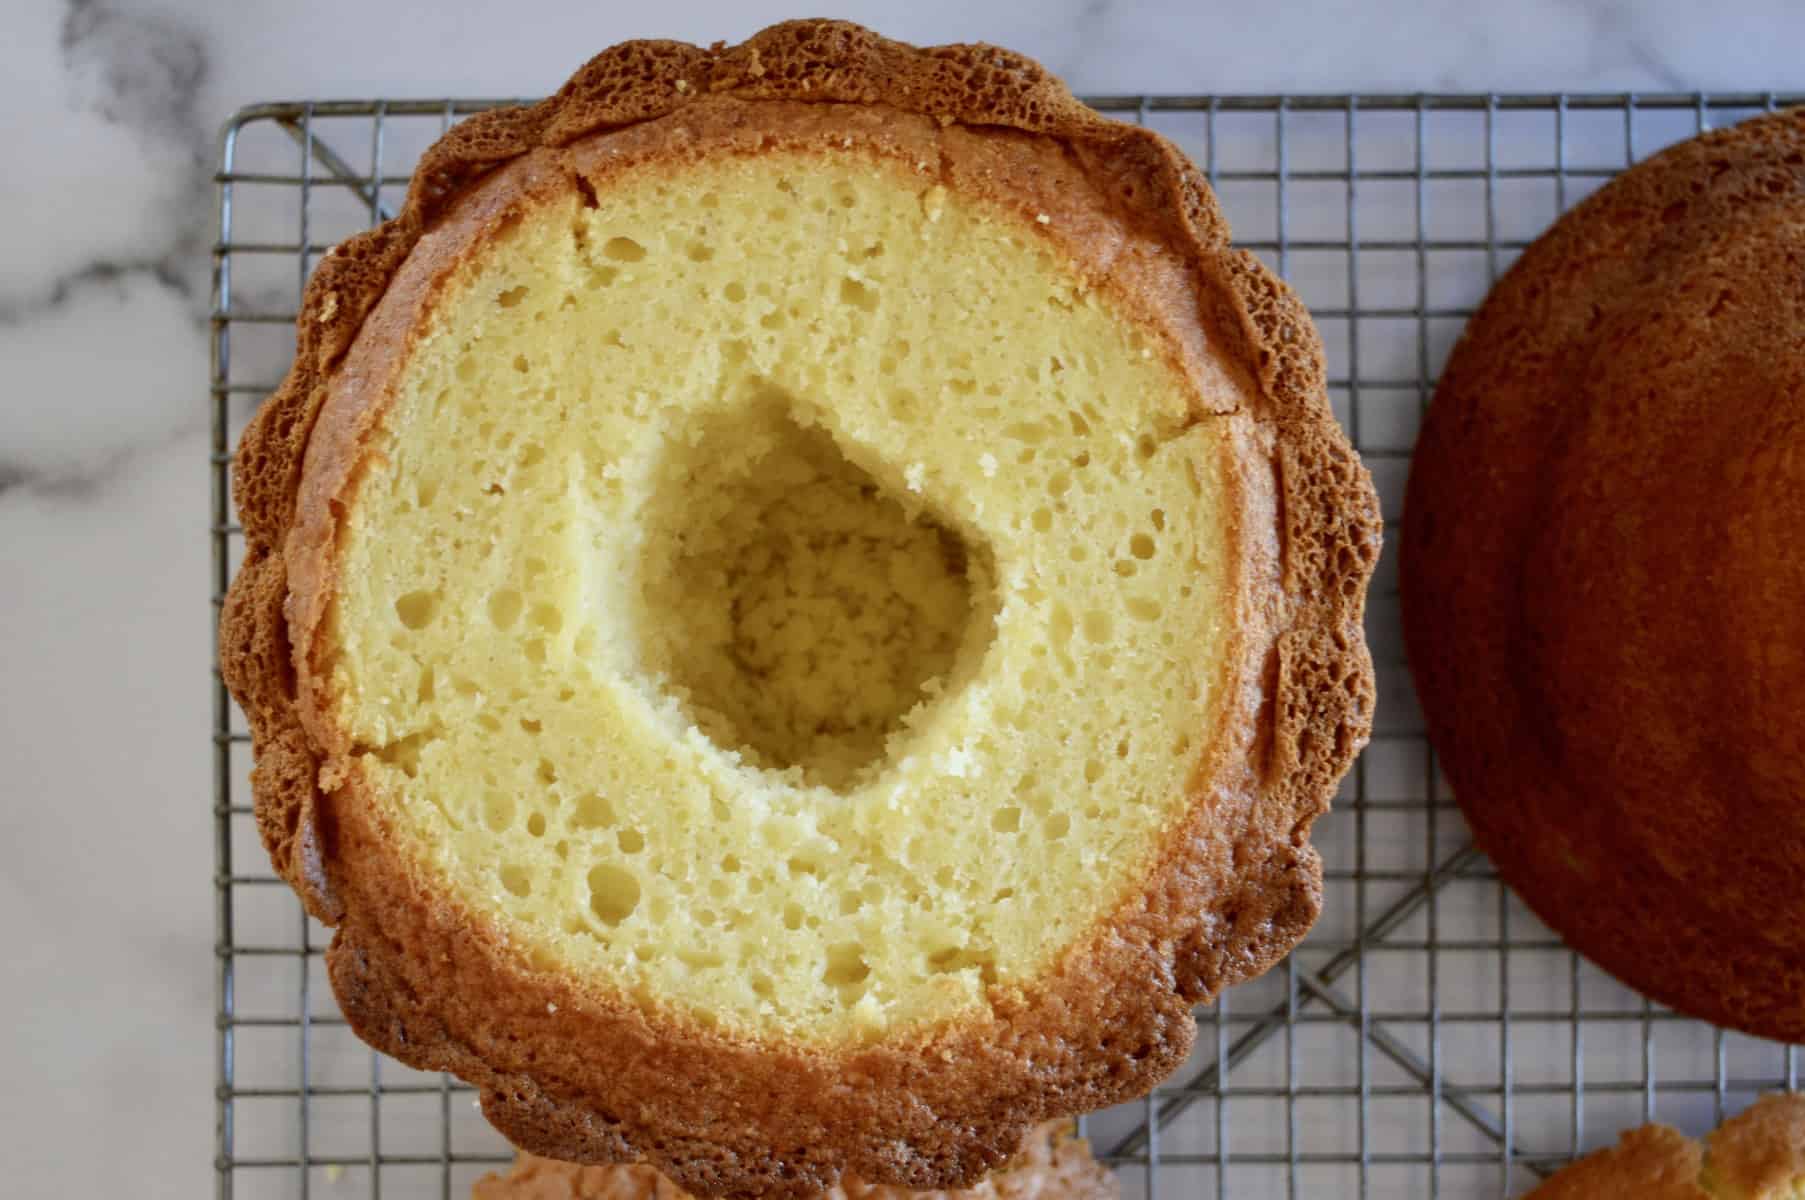
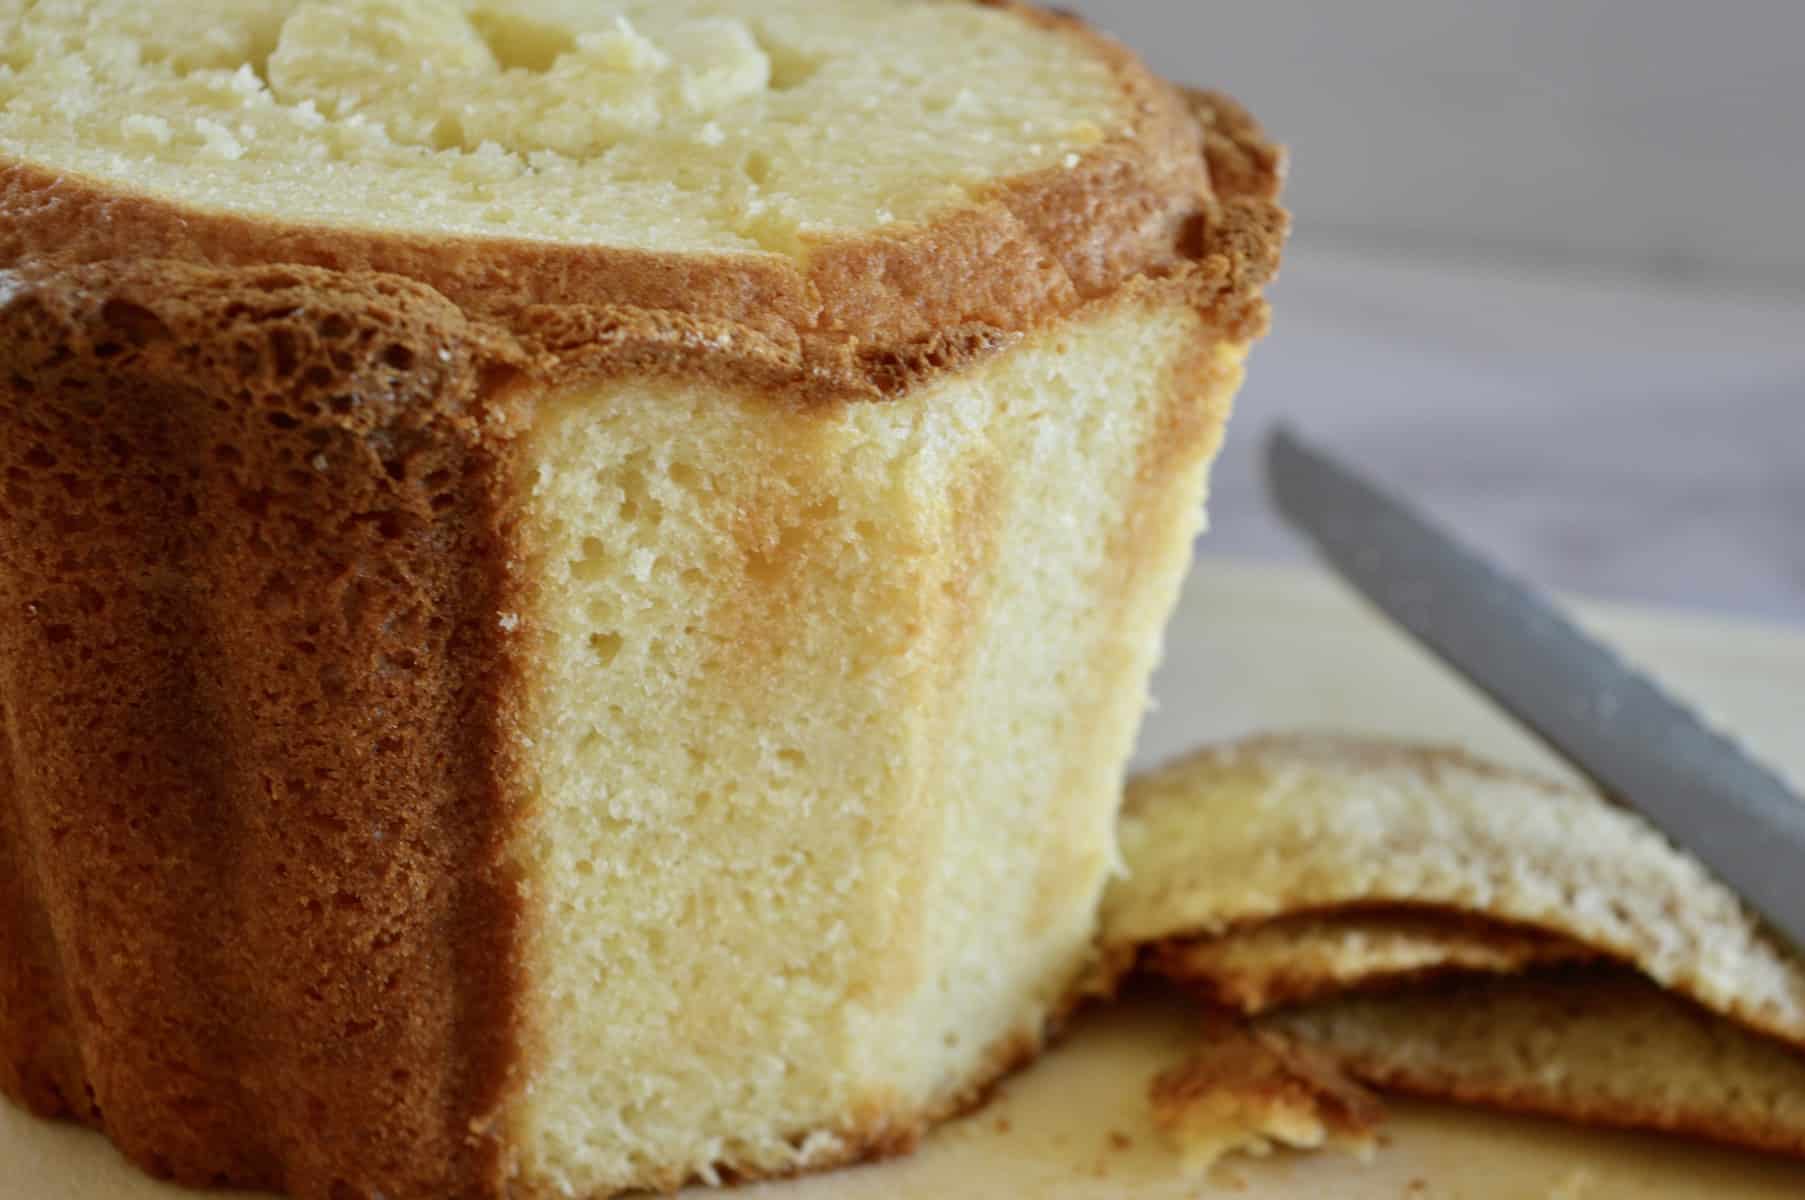
Once the cake has cooled, use a serrated knife to trim the pieces to form the cupcake shape. Flatten the top of the bottom of the cupcake. For the top of the cupcake, you can place the cake back in the pan as a holder while you trim that piece. Save the scraps if you plan on making a cherry top for the cake.
If you are filling the cake with sprinkles or candy, use a small serrated knife to cut a two inch round on the top of the cake going about 4 inches deep. Remove the center piece saving the top half for plugging the sprinkles hole.
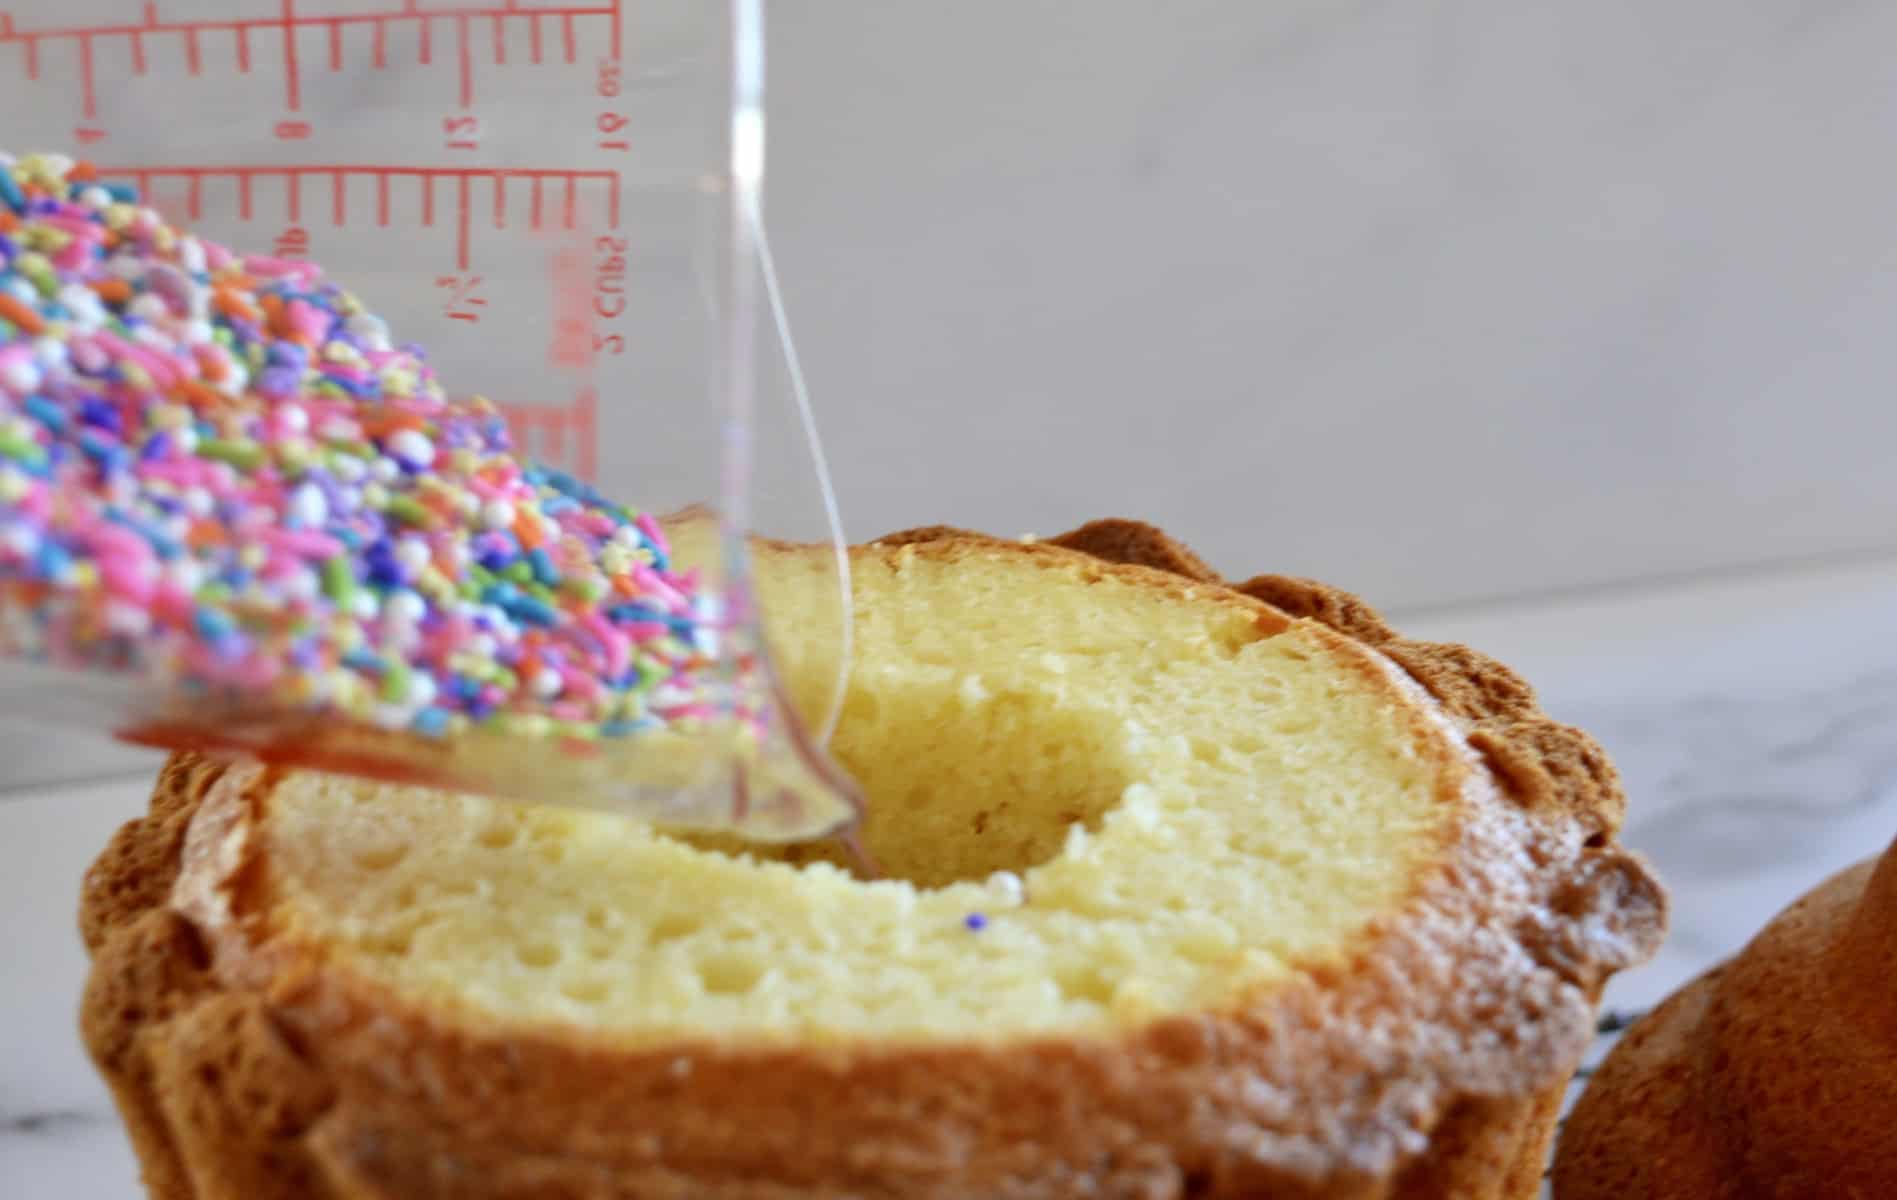
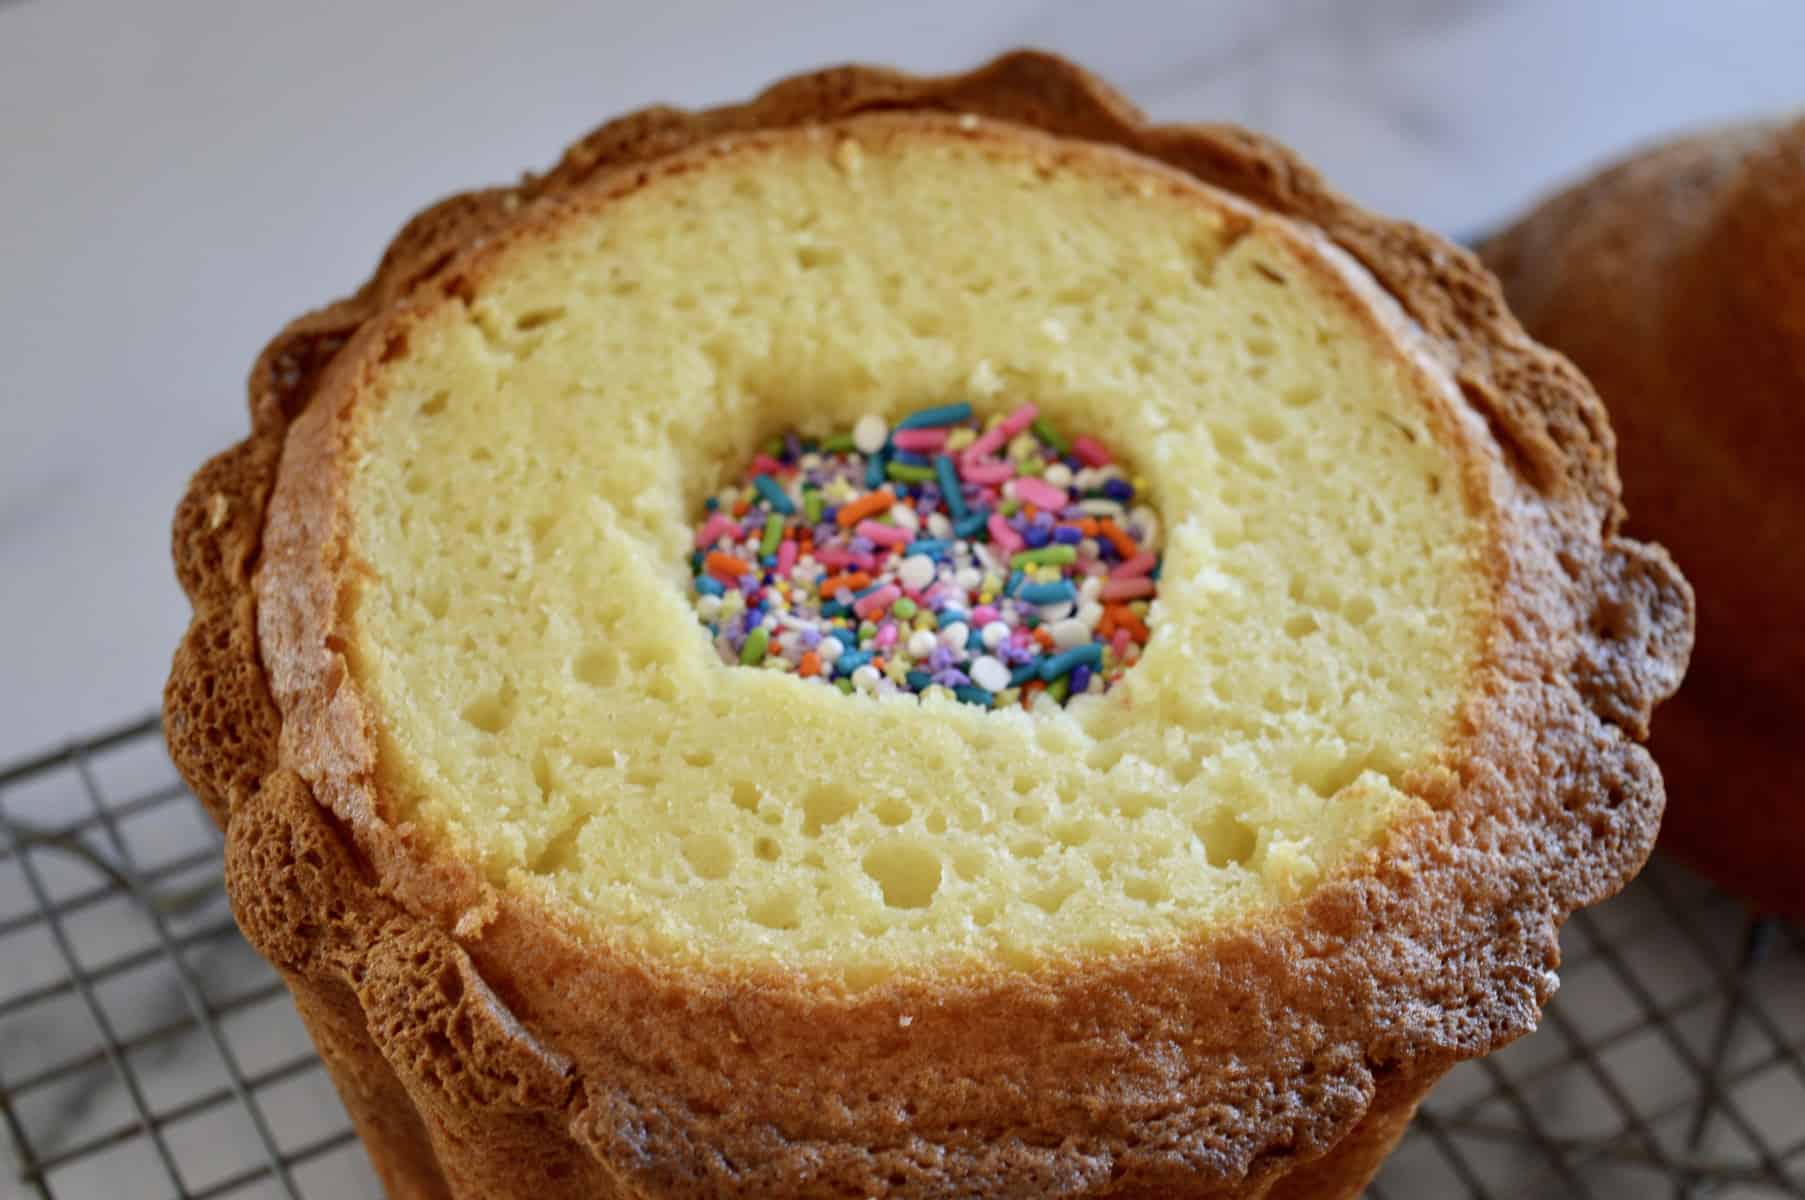
Pour in the sprinkles, about ½ a cup should work. Alternatively, you could fill the hole with M&M’s or Reese’s Pieces.
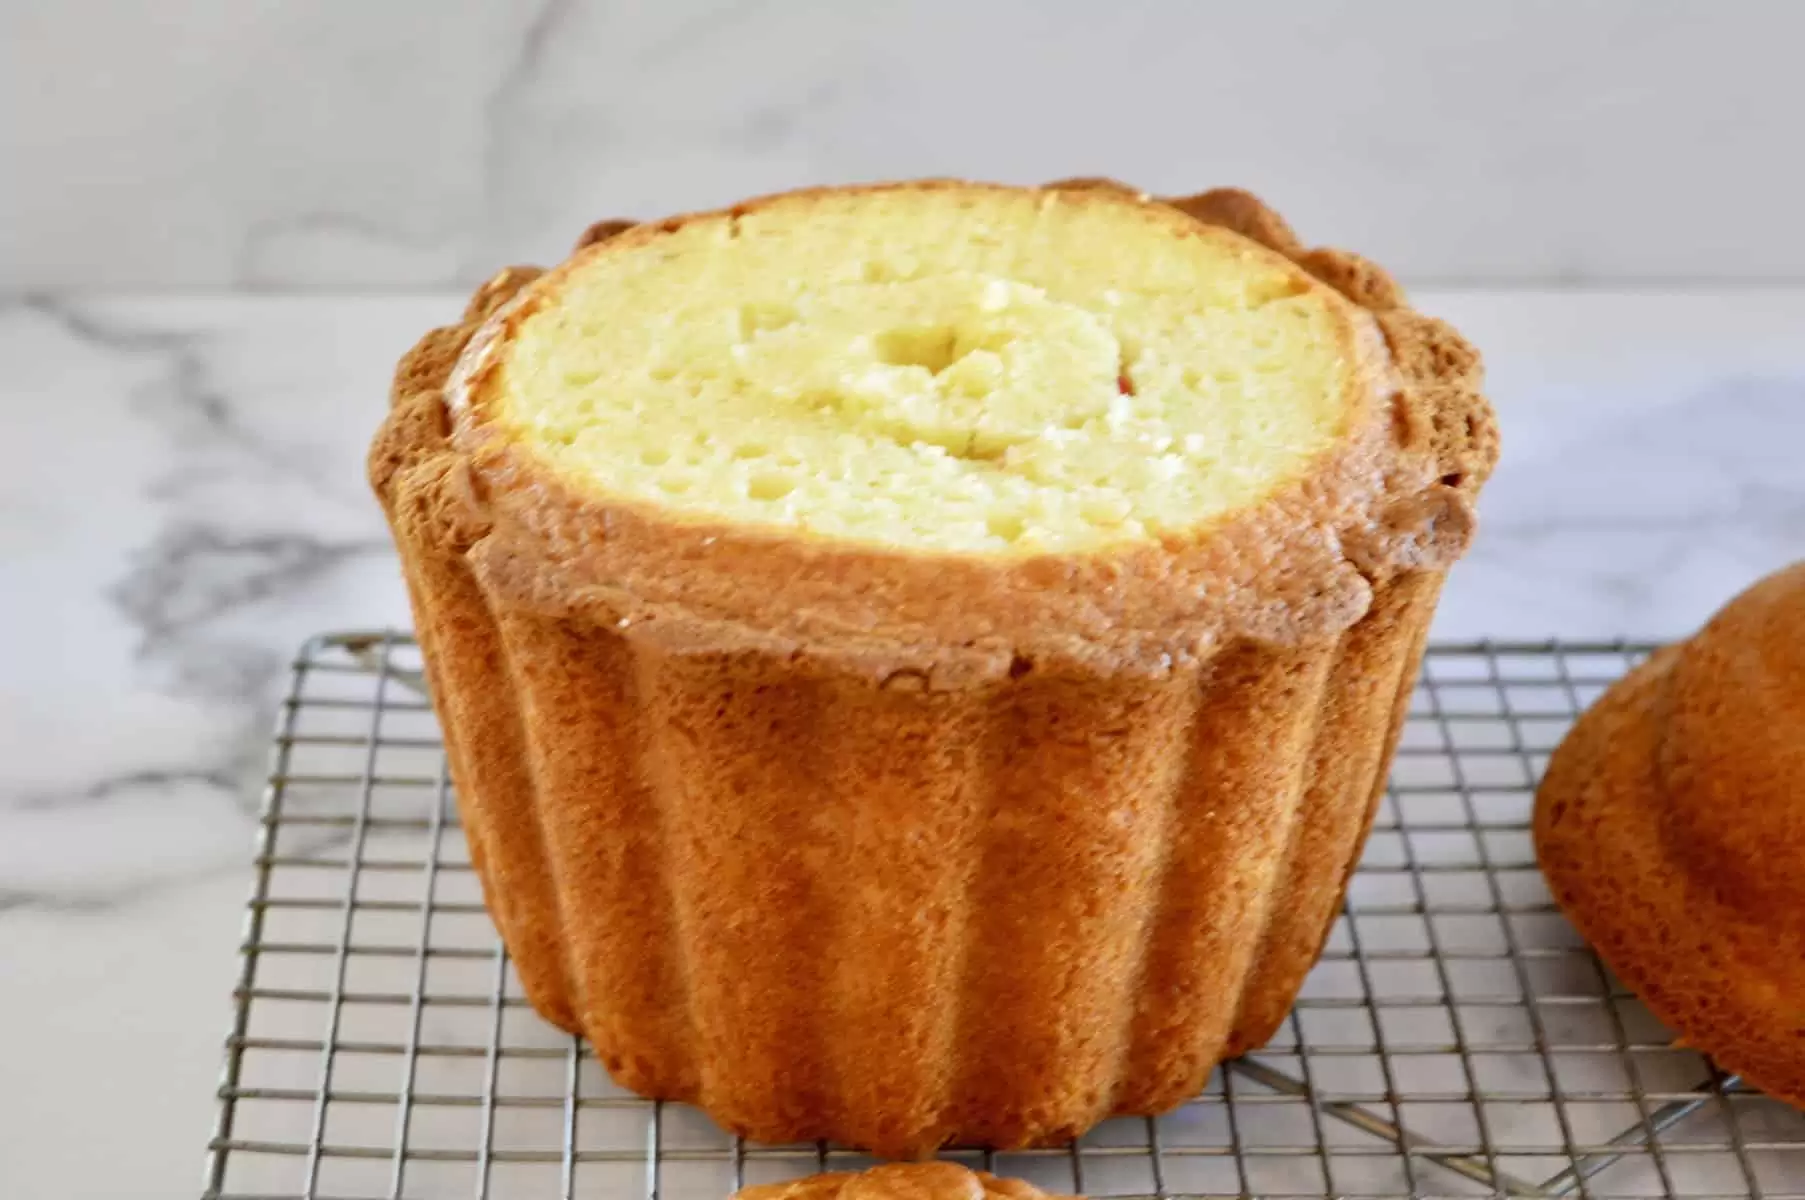
Cover up the hole with the cake piece you cut away.
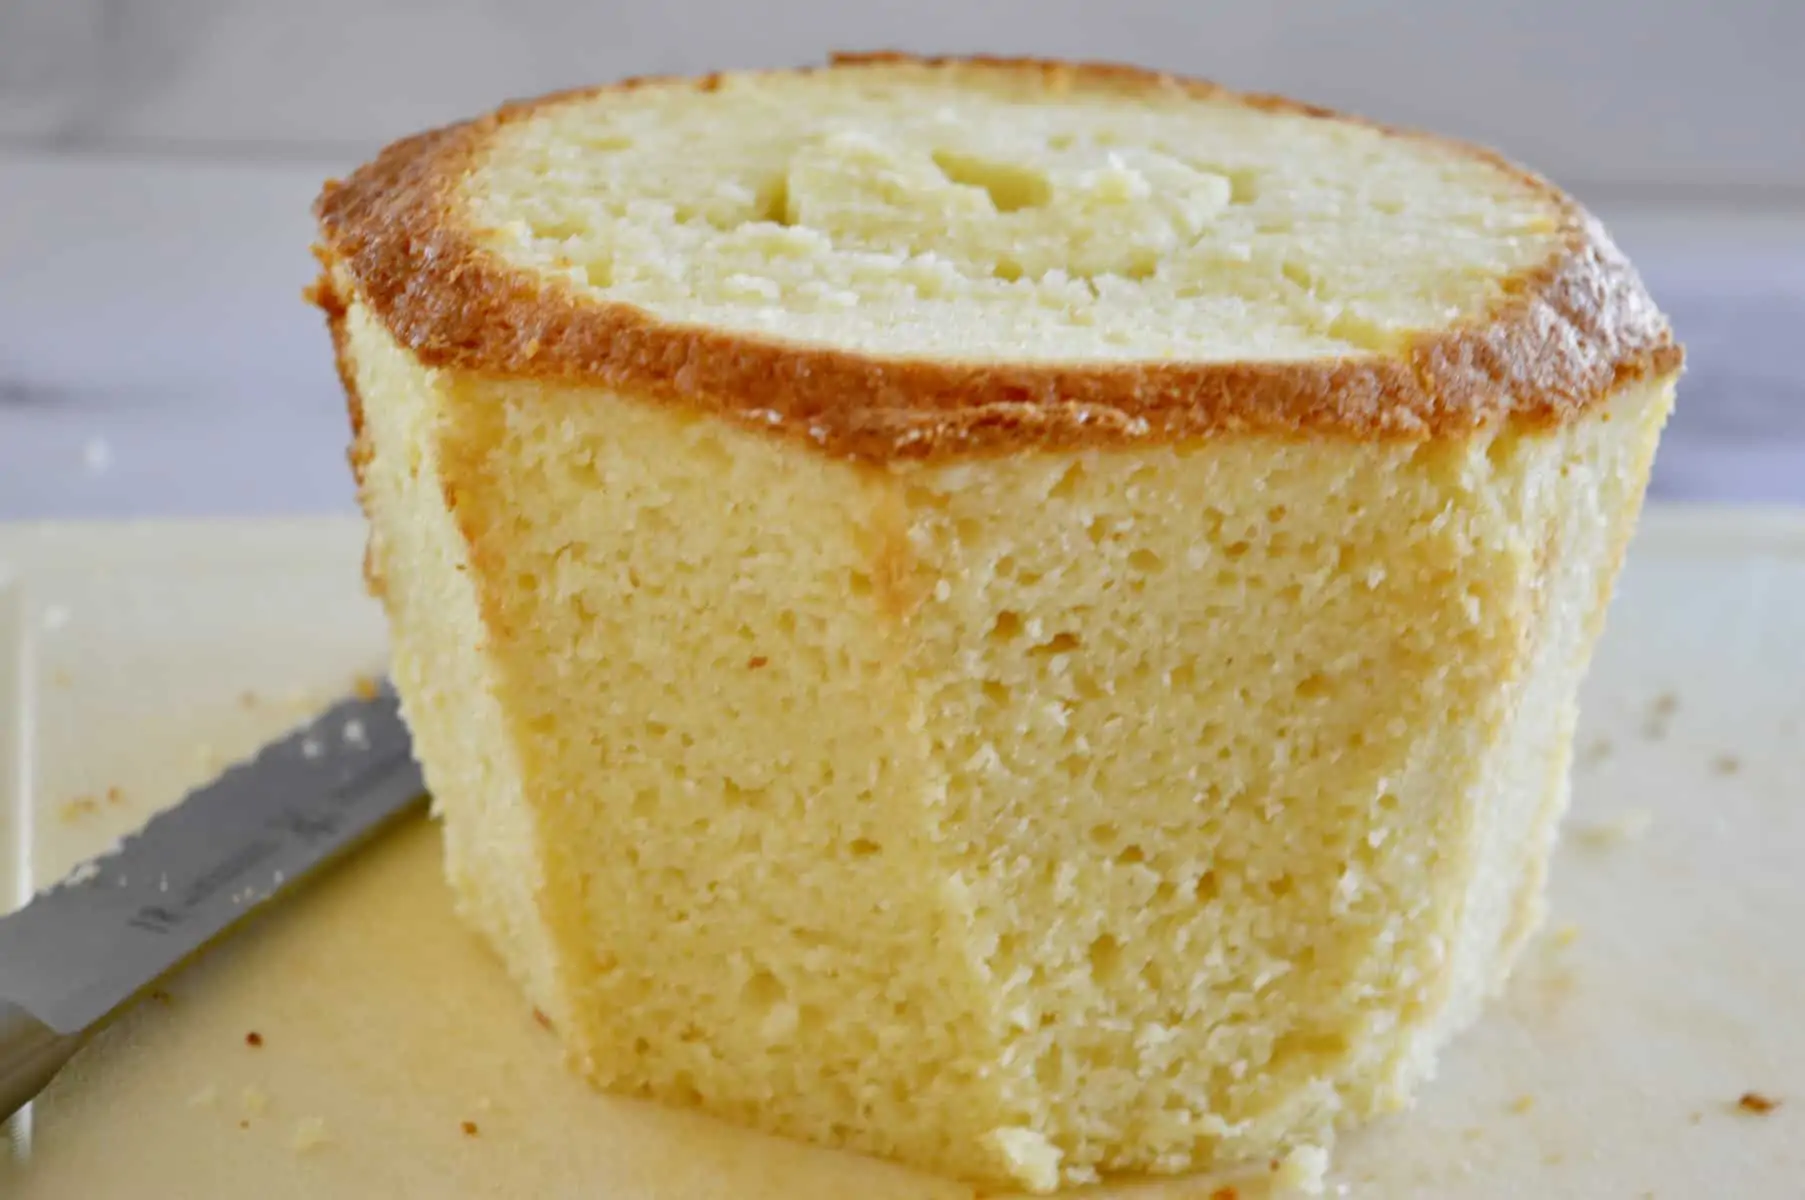
Trim the Cupcake Base
Next, you will need to trim away the sides of the cupcake base so that it can fit in the candy shell liner. If you leave it too big, you risk breaking the shell.
The best way to do this is with a serrated knife. Just trim off the sides. You don’t need to take off a lot and be sure to save any excess cake pieces.
Next, carefully place the cupcake base into the candy coated liner. Note, that it’s best to do this on your cake display stand to avoid having to move the cake later.
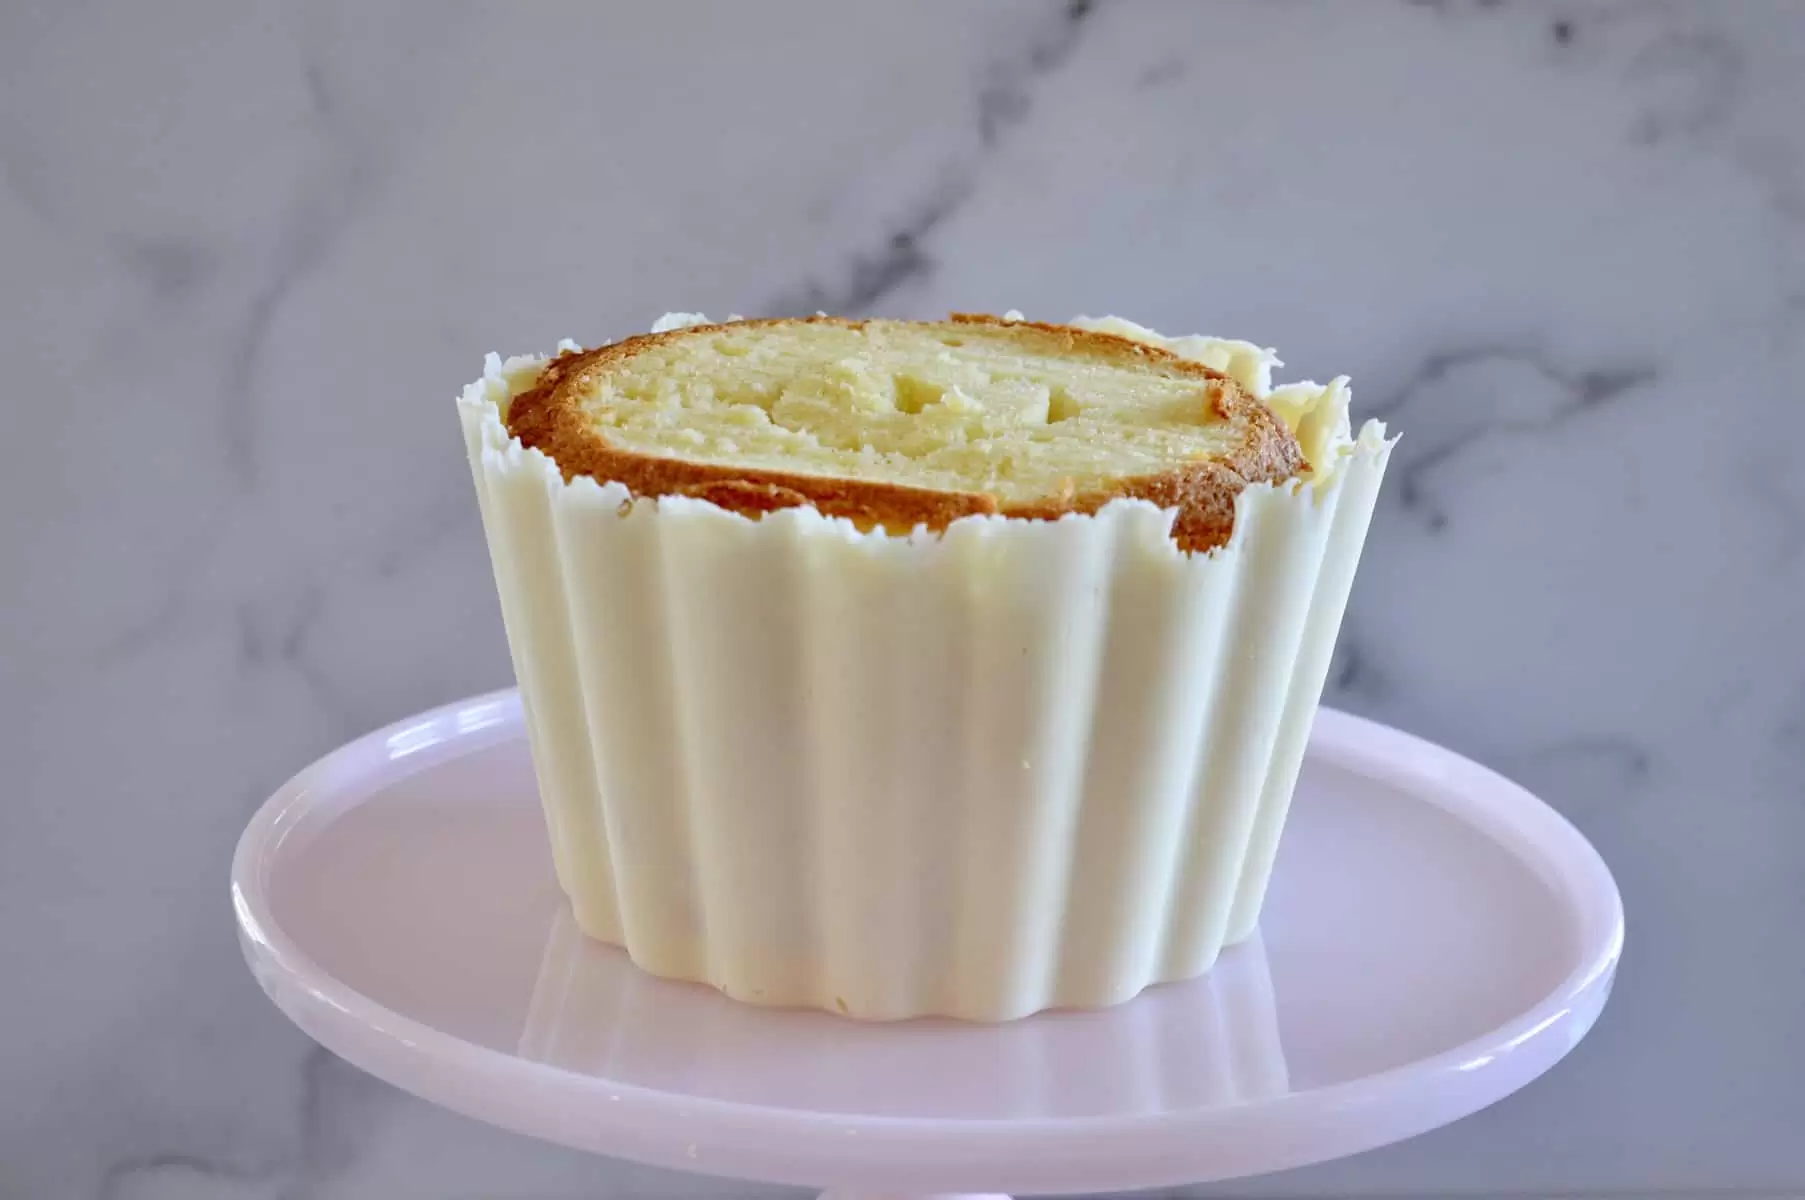
Moreover, there is no need to worry if the cake and liner don’t match exactly or if you have cracks in your liner. You’ll cover it all up when add the top and frosting below.
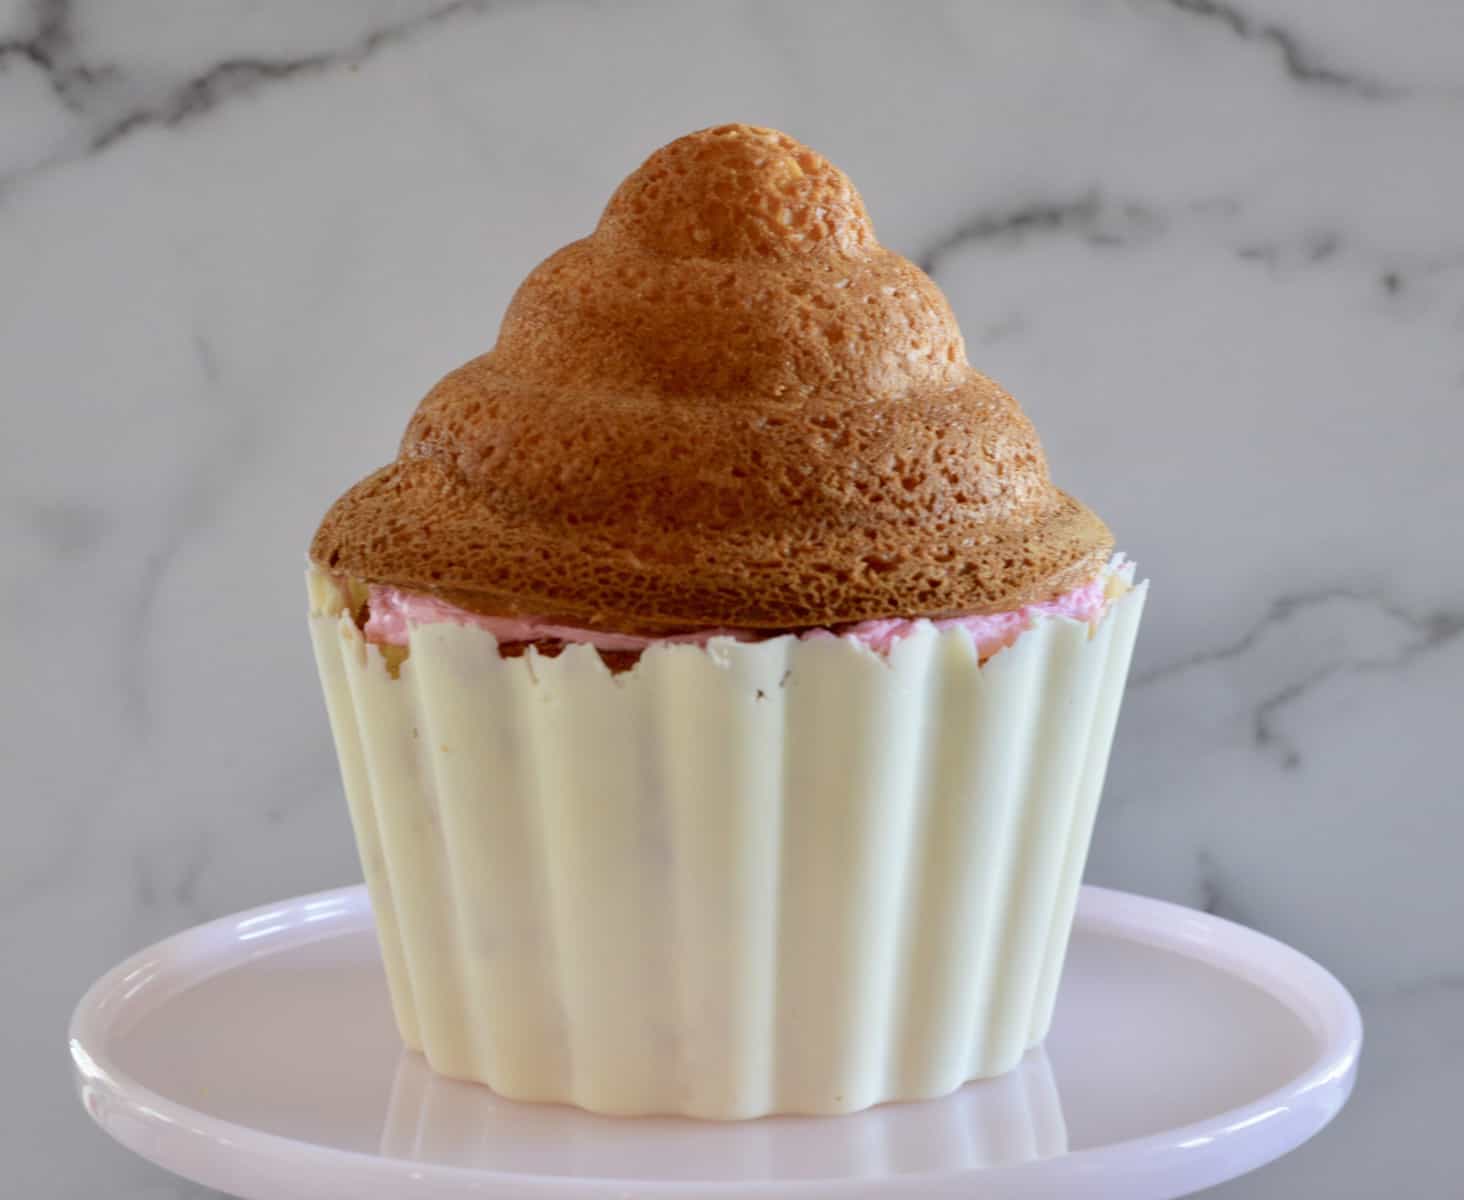
Step 4: Frost the Cupcake Cake
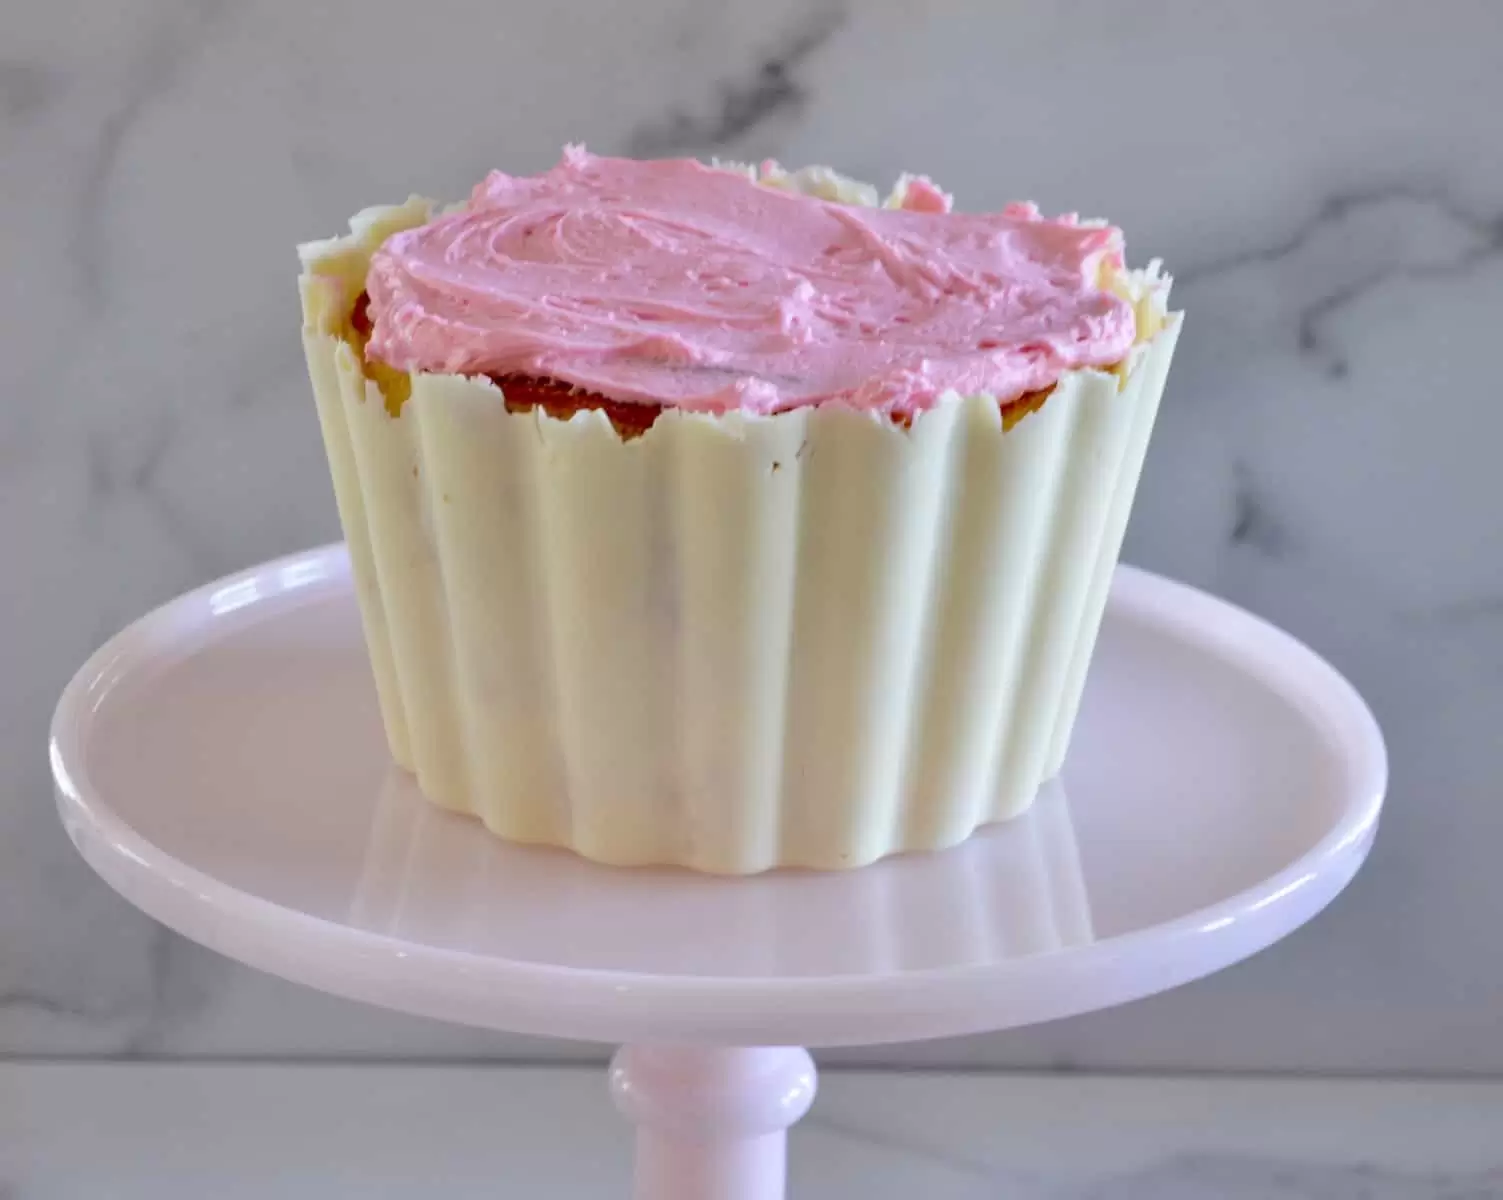
For this cake, you will need a generous amount of Buttercream Frosting. You could also substitute your favorite frosting, a cream cheese frosting would be great! Once the frosting is made add in your desired color and spread on the top of the base of the cupcake.
Next, carefully place the cupcake swirl on top of the base.
Next, apply the frosting. You can frost using any tip you like. I used a Wilton Open Star Piping Tip and disposable decorating bags. Use a swirling motion and make little swirls all over the cake. This is also a good time to hide any flaws on the cake liner and base.
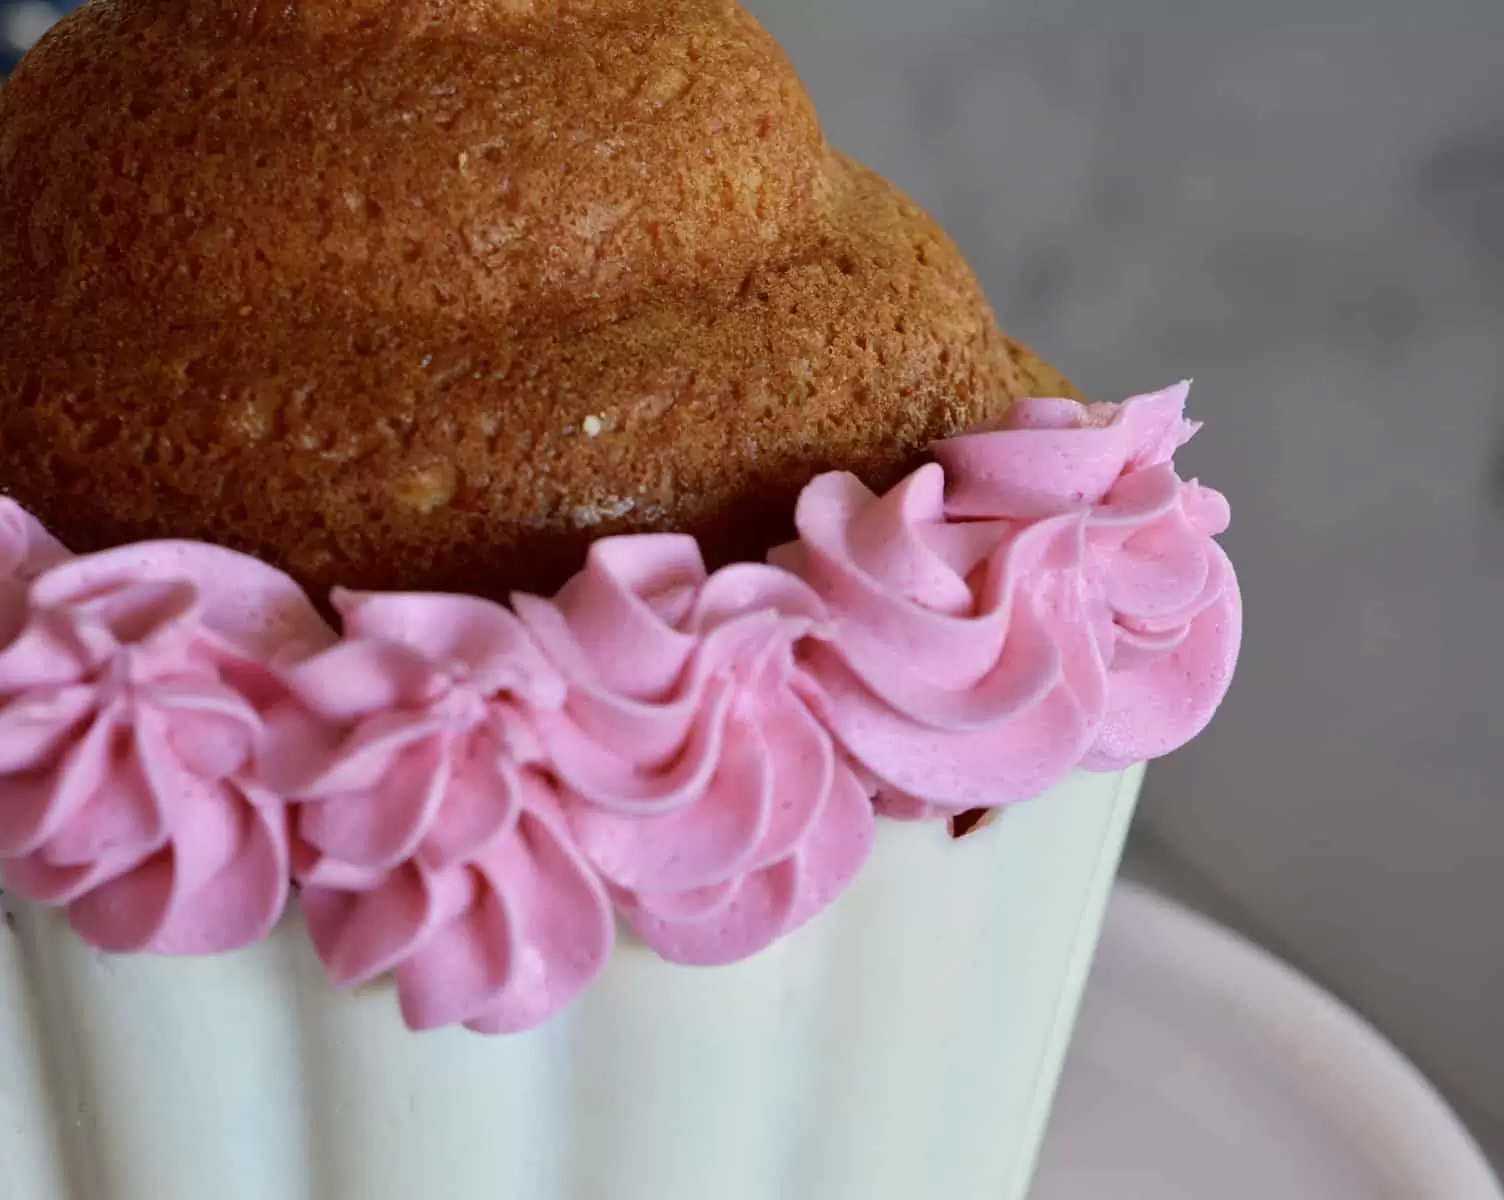
Continue frosting entire cake using swirling motion.
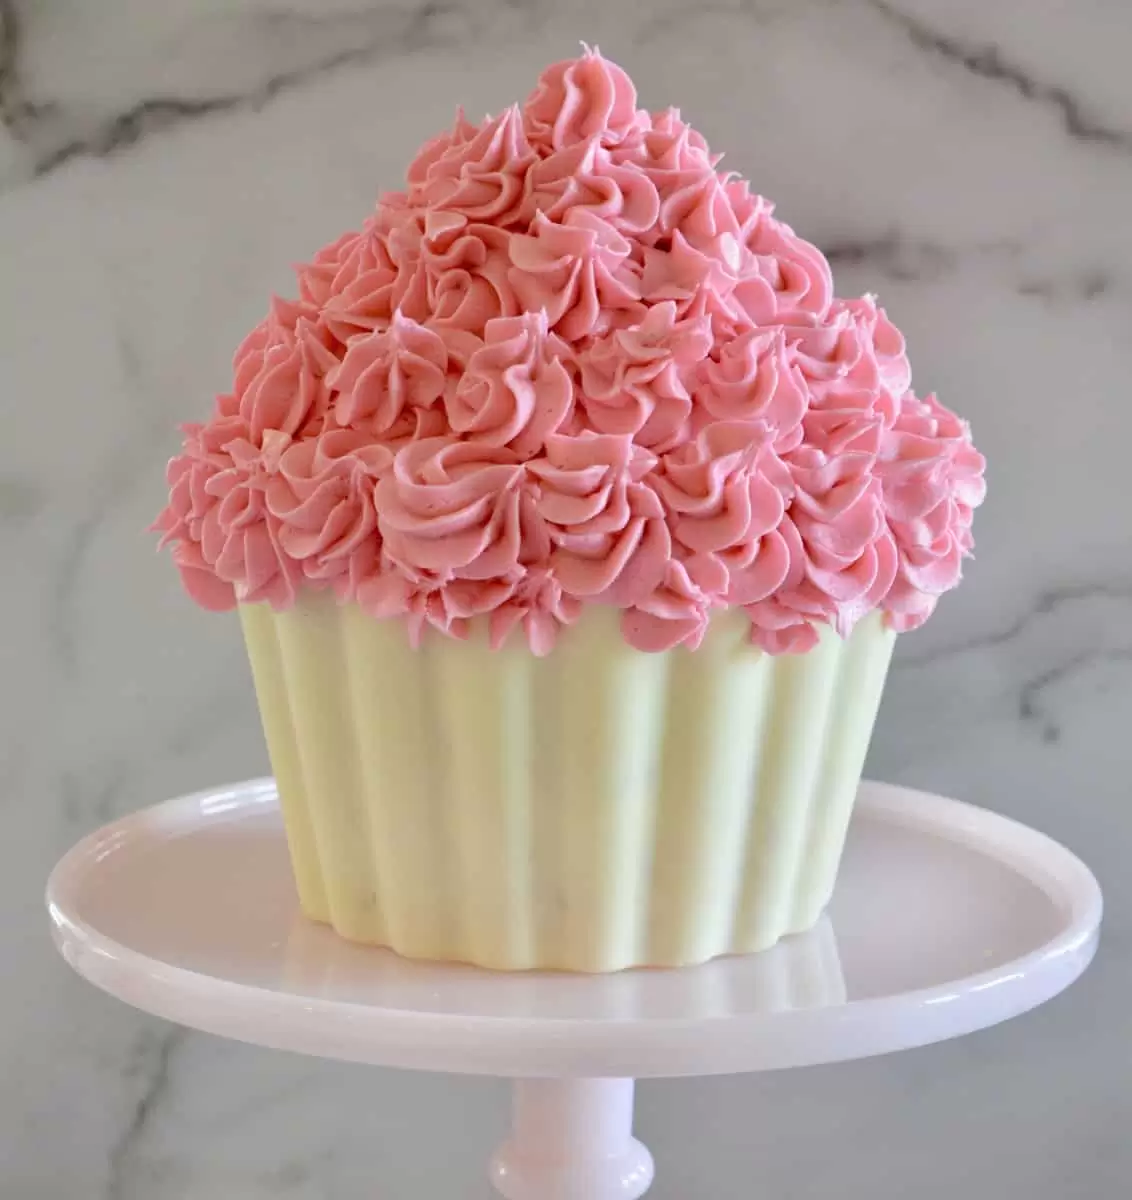
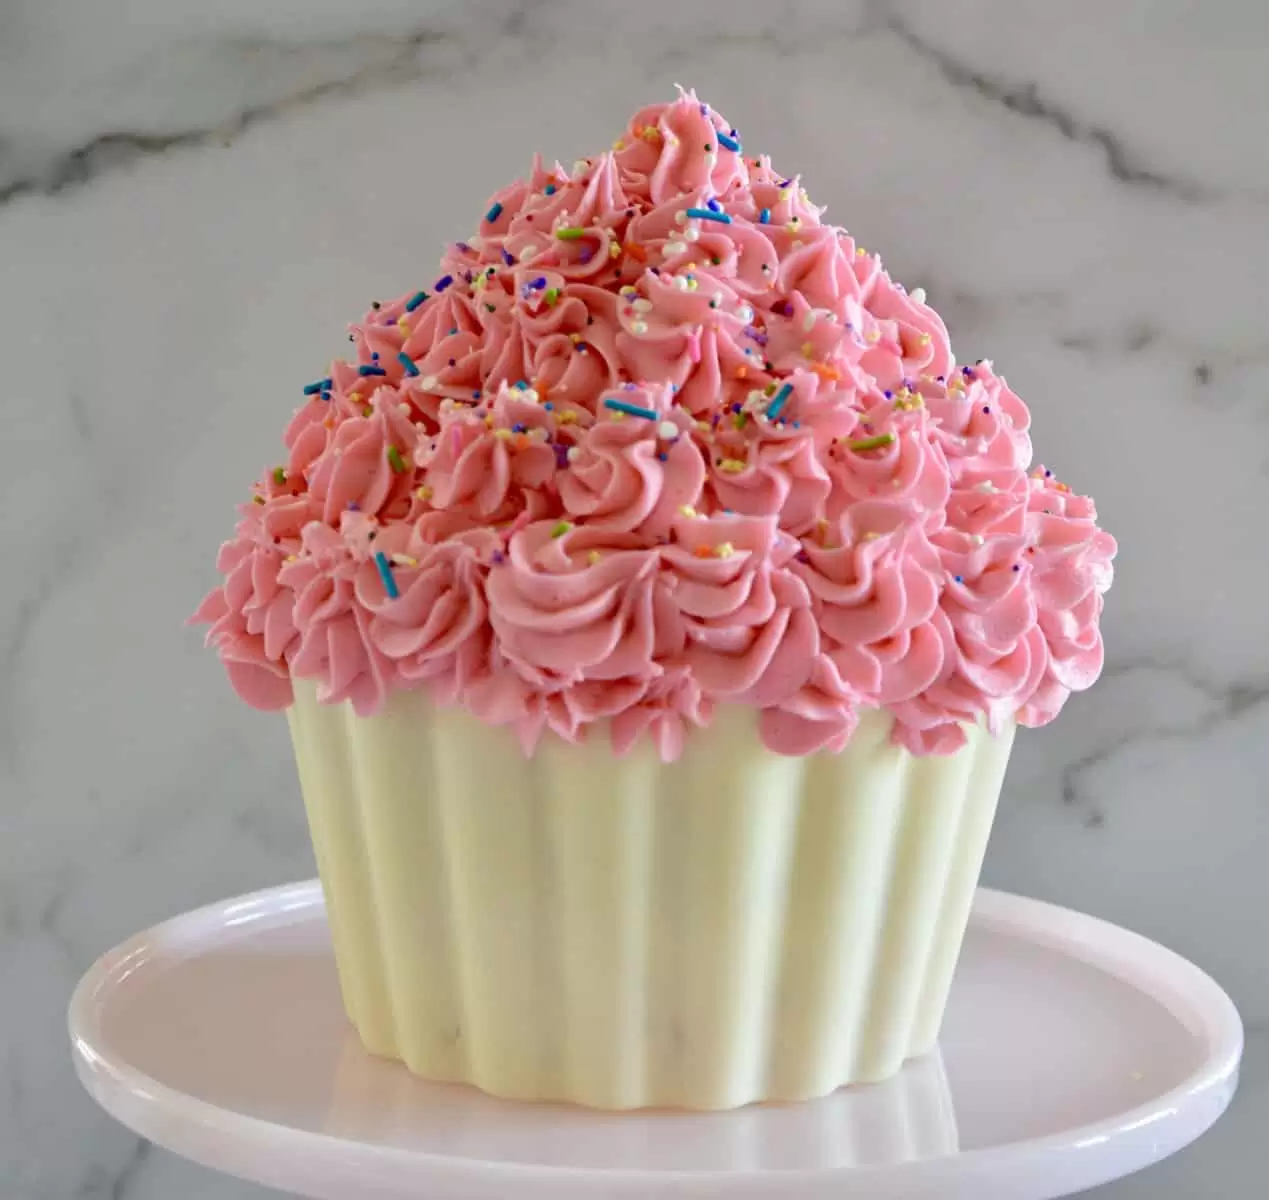
To finish up the cake, decorate with sprinkles or whatever topping you want to use.
Optional: Top with a “Cherry” Truffle
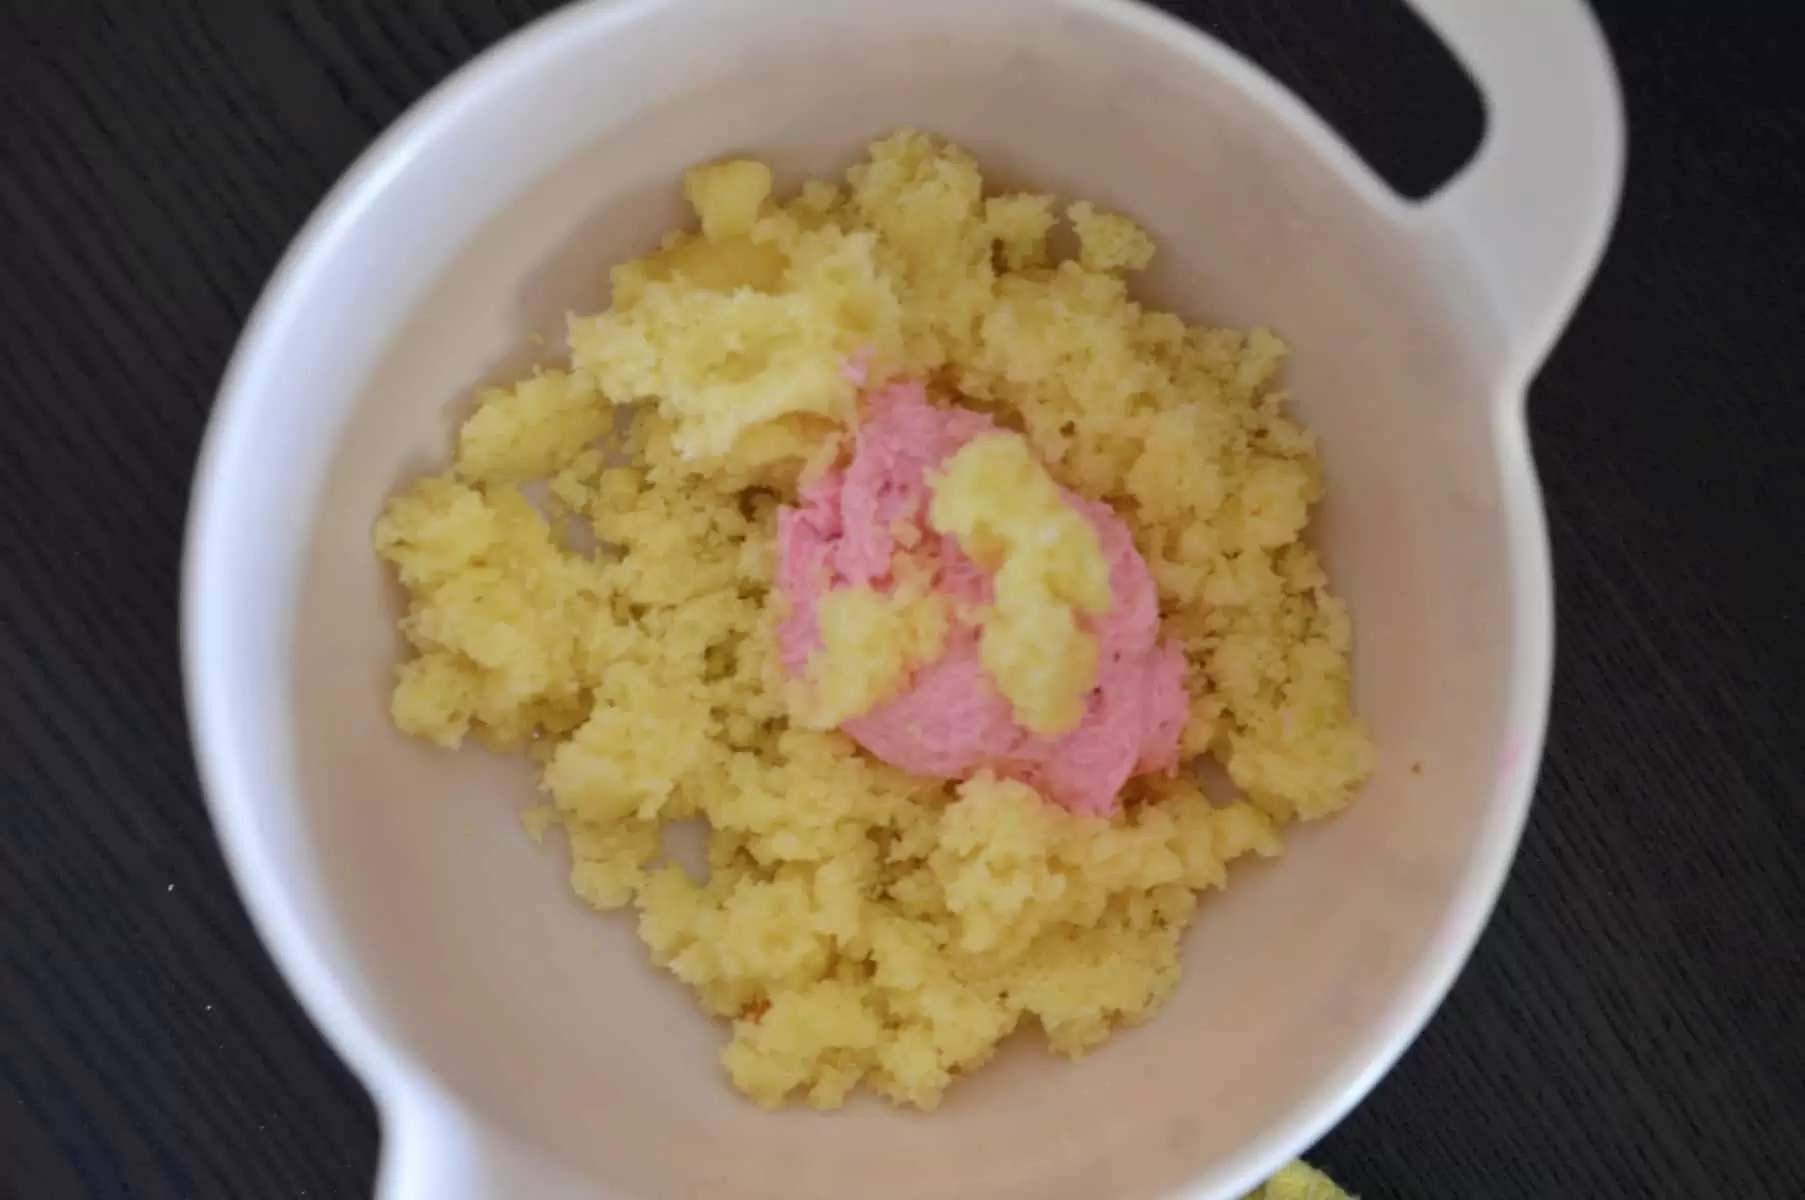
To really make your Giant Cupcake Cake over the top, use the leftover cake pieces to make a cherry for the top. Firstly, take the leftover cake pieces and crumble them in a small bowl. Add enough frosting to roll mixture into a ball.
Place the truffle ball in the freezer to harden while you work on the red dip. Lastly, melt any remaining candy melts and add in a few drops of red food coloring.
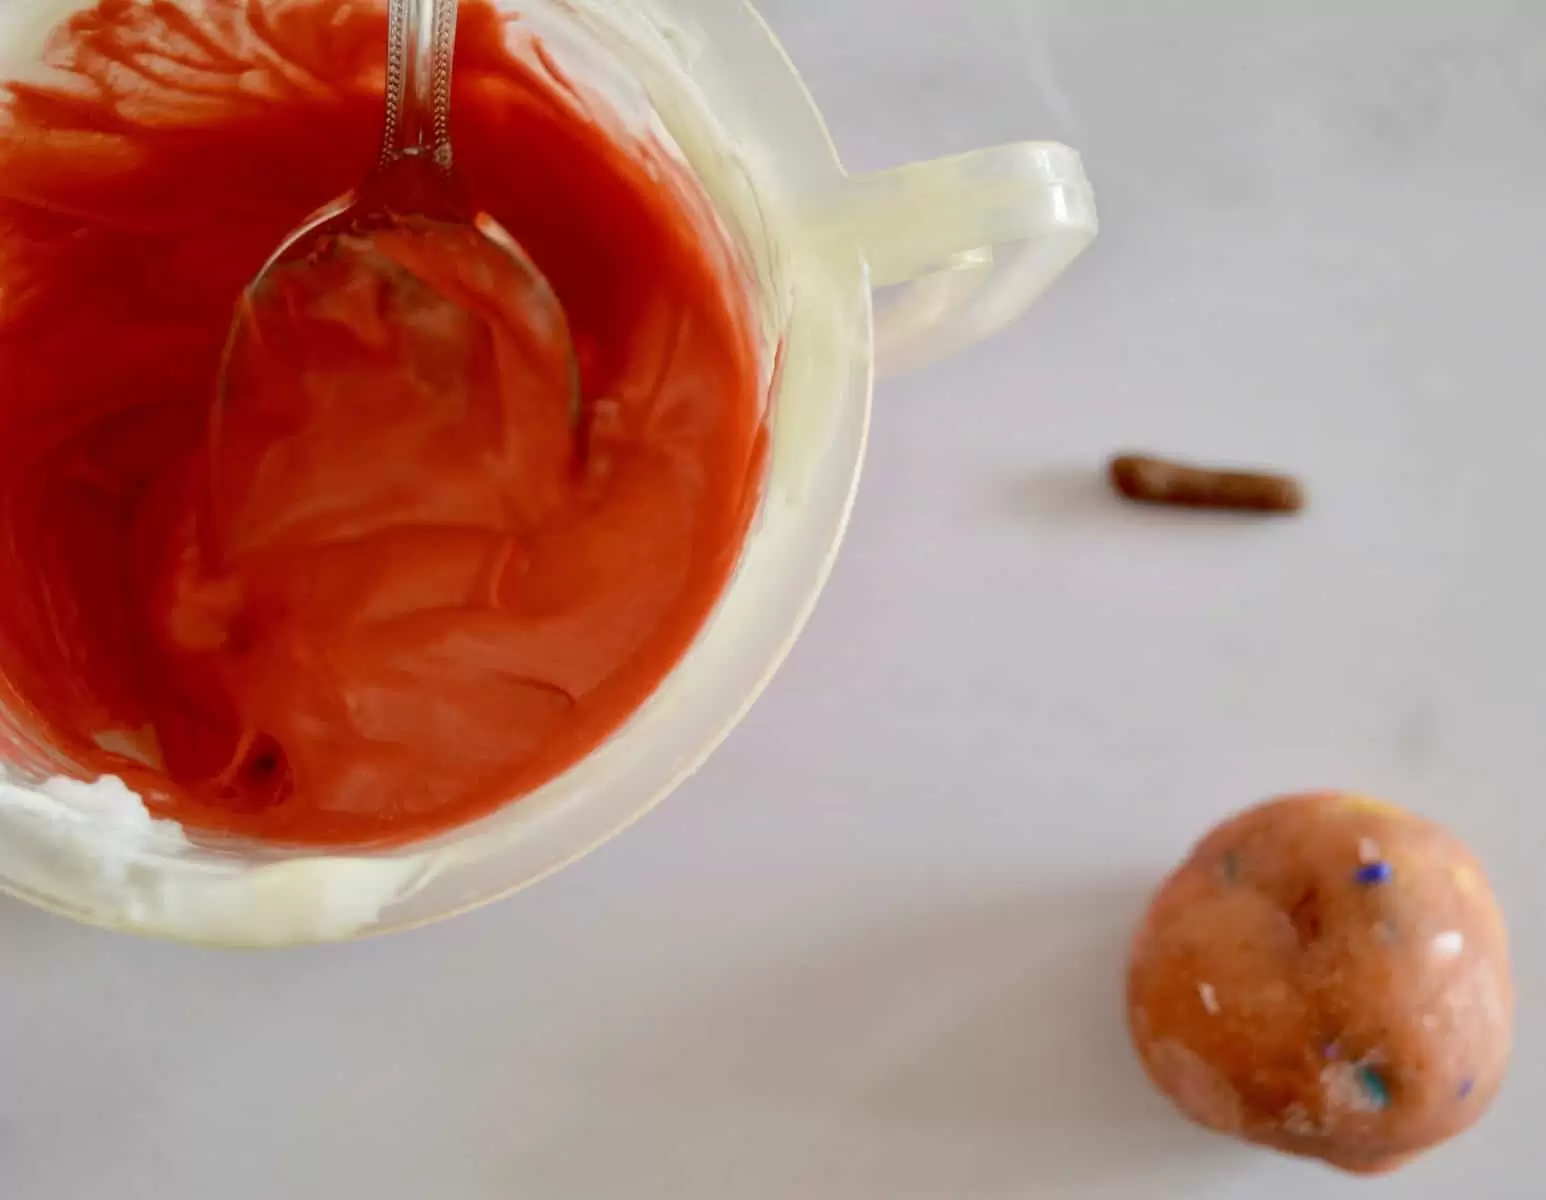
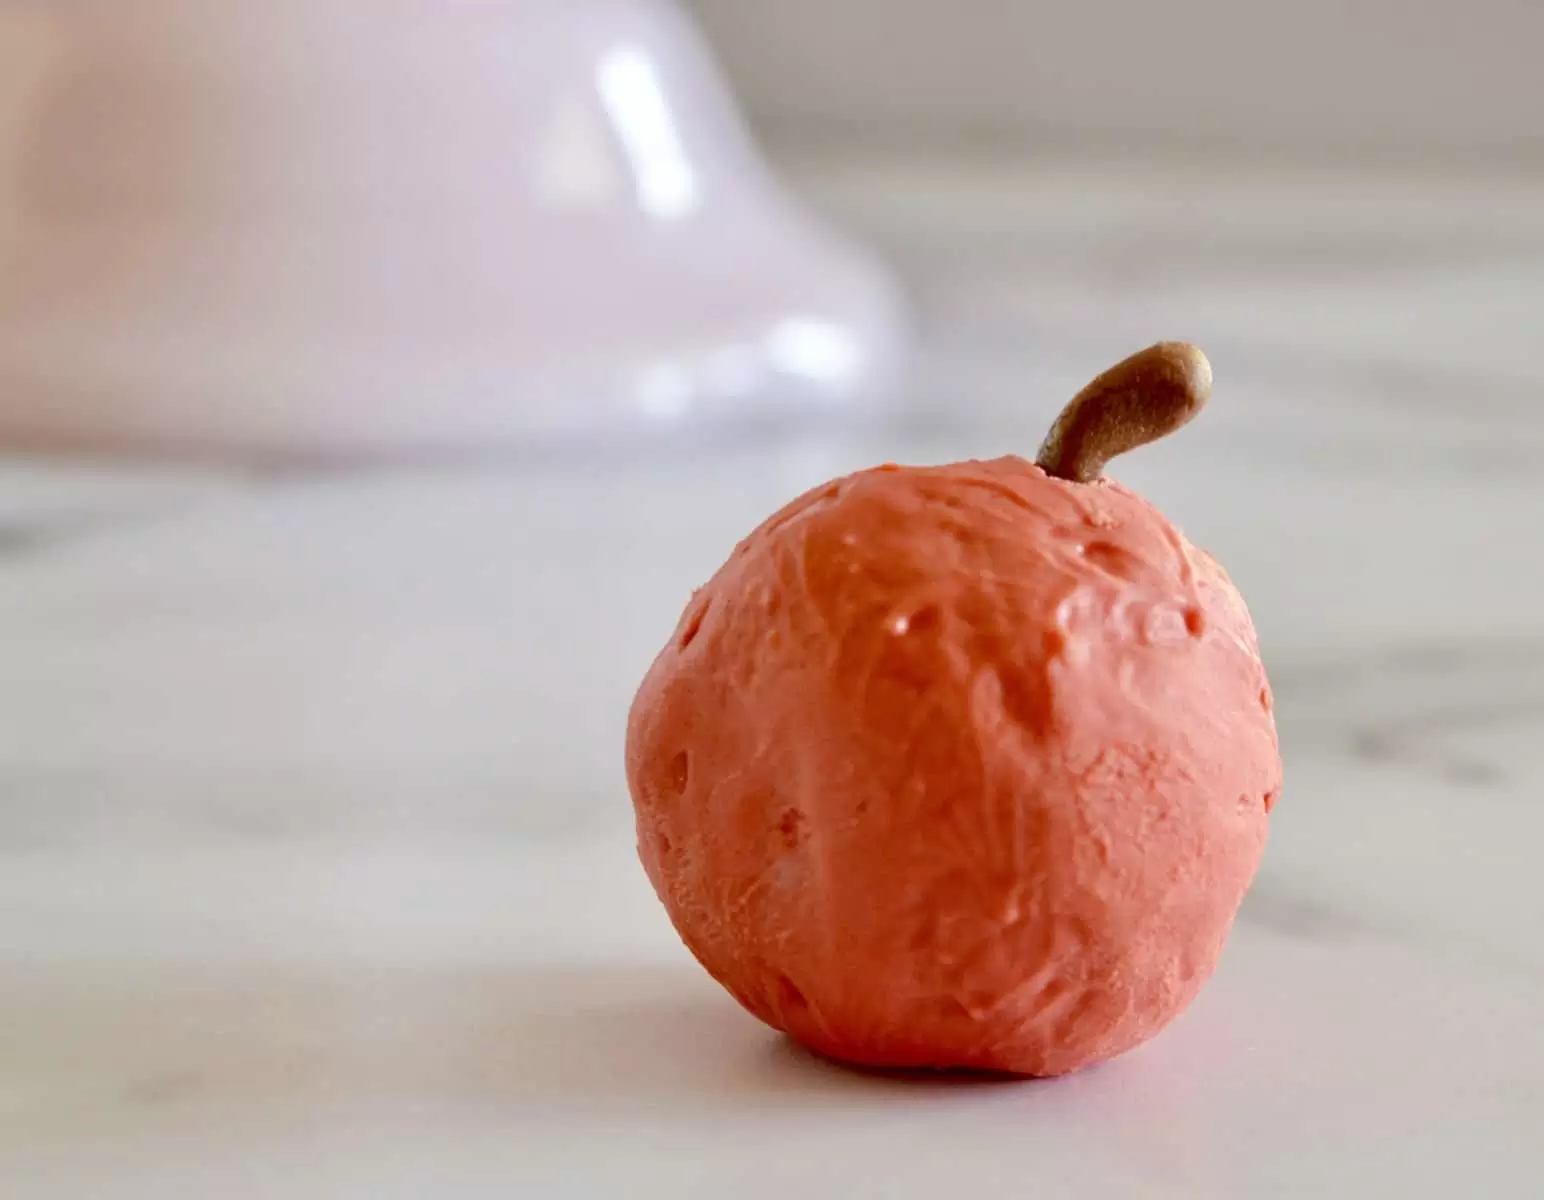
Dip the cake ball in the candy melts and set aside to dry. To make the “stem” cut a piece of Tootsie Roll to desired size. Use a toothpick to make a hole in the cherry and place the tootsie piece in it.
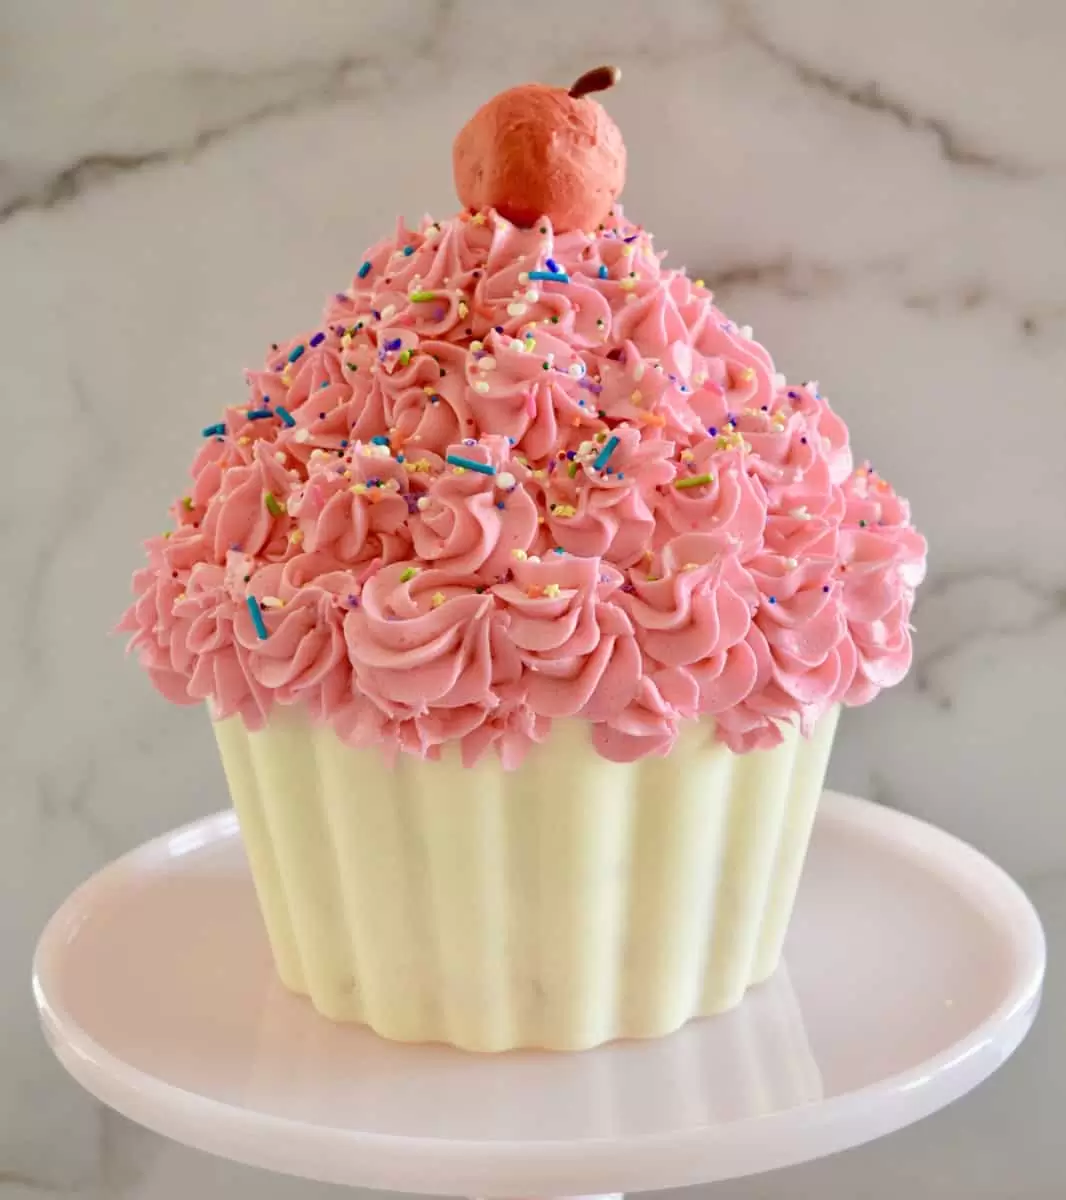
Giant Cupcake Cake
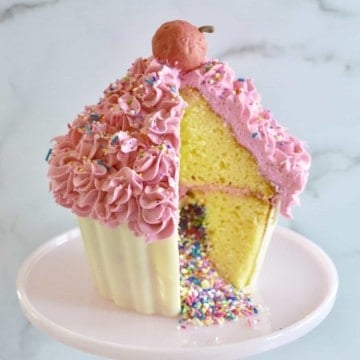
And there you have it! Now you can make a super fun and festive Giant Cupcake Cake with just a few ingredients and a little patience. Guests will love this cake and it’s hidden sprinkle surprise!
I hope you have enjoyed this tutorial. Moreover, be sure to check out my other super fun cake tutorials:
Giant Cupcake Cake
Ingredients
Cake Batter
- 2 boxes white cake mix (like Pillsbury)
- 1 3.4 ounce box vanilla pudding mix (like Jell-O)
- 6 large eggs
- ⅔ cup canola oil
- 2 cups water
Cupcake Candy Shell Liner
- 1 12 ounce bag Wilton’s Candy Melts
Buttercream Frosting
- 1 ½ cups butter, softened (3 sticks)
- 4 ½ cups powdered sugar
- 2 teaspoons vanilla
- 3 tablespoons milk
- food coloring
- 1 cup sprinkles or candies (for filling and decorating)
Instructions
Cake Instructions:
- To make the cake, preheat oven to 350 degrees. In a large bowl combine the Cake Batter ingredients and mix well using a handheld mixer. Spray the bottom cupcake portion of the cupcake pan with cooking spray and pour in about 3 ½ cups of batter, or until it’s about two inches from the top. Place a damp dish towel in the other side (the top of the cupcake) pan. Bake for 10 minutes. Remove from oven and carefully take out damp towel, drying the pan if there is any water remaining. Spray the cupcake top of the pan with cooking spray and pour in about 2 ½ cups of batter, or until it’s about two inches from the top. Bake for 40 – 50 minutes or until a toothpick inserted in cake comes out clean. Cool on a wire rack.
- Once cooled, trim top and bottom of the cupcake. Reserve excess scraps. If filling with sprinkles, cut a circle in the base of the cupcake about 2 inches wide and 4 inches deep. Fill with sprinkles. Top the sprinkles hole with a piece of remaining cake that was cut away. Lastly, trim the outside of the cupcake base so that it can sit in in the cupcake liner.
Cupcake Liner Instructions:
- Clean and dry the cupcake base of the cupcake pan. Melt the entire bag of candy melts according to package instructions. Pour half of the melted candy into the base of the cupcake pan and use a silicone brush to brush up sides of cupcake wall. Place in refrigerator to harden for five minutes. Pour in remaining melted candy melts and brush up sides of shell. Refrigerate until it can be easily removed from mold. Note that if you can’t easily remove it, place in freezer for a couple of minutes just until you are able to remove the liner without cracking it. Place the trimmed cupcake base in the candy liner.
Buttercream Frosting:
- In a large bowl, cream together the softened butter, powdered sugar, vanilla, and milk. Mix in desired food coloring if using. Spread a thick layer of frosting on top of the base of the cupcake and then place the top of the cupcake on it. Pour the remaining frosting in a pastry bag with desired icing tip. Pipe on swirls or desired shapes to cover the cupcake top and hide any cracks in the cupcake liner. Sprinkle with additional sprinkles or toppings if desired.
Cherry Top:
- To make the cherry top, place the excess scraps of cake in a bowl and break into crumbs. Add in enough of the remaining frosting to form cake into a two inch round ball. Freeze for a couple of minutes. Microwave any remaining candy melts and add red food coloring. Dip the cake ball in the candy melts and let dry. To make the “stem” trim a piece of Tootsie Roll into a small cylinder stem shape. Use a toothpick to make a hole in the cherry and insert stem. Place on top of the cake.
Notes
Nutrition

Thanks so much for this tutorial! I appreciate that it covered everything including tips for making the cupcake liner which was extremely helpful given I had never used the candy melts before. It was easier than I thought getting it out the pan.
Yay! I’m so happy to hear it turned out for you 🙂
Just wondering …… is it instant pudding?
Yes it is 🙂
Hello! Does the pudding mix get mixed in with the cake mixes? I wasn’t 100% clear on that. thank you!
Yes! It gets mixed in with the batter. Enjoy!
Many thanks to you, all the way from New Zealand! I made this completely stress free for my daughters first smash cake thanks to your instructions ~ honestly, what a blessing!! Especially with the liner, came out perfectly once put in the freezer. Much more enjoyable than my sons two tiered 2nd birthday cake 🥲😂😅🫶✨ TY!!!!
Yay! I’m so happy to hear this Demi. You made my day!! 🙂
I see you doubled the box mix ingredients but didn’t double the oil? Why is that?
The extra oil is not necessary when adding the pudding mix. Hope you love the cake!
This is perfect! I made a sugar free banana cake with a sugar free yogurt frosting for my daughters 1st birthday and these institutions helped me confident when making my first cake!
this is amazing
Thank you!